No. 2. Original Hand-Crafted Frames
Up to now, I’ve largely avoided “How to” posts in the nearly ten years I’ve been doing this blog.
As every artist knows, frames are a big expense. In my experience, most good commercially-available frames are easily damaged. I’ve been making my own frames from scratch for some time. I’m much happier with the results than the ones I’ve purchased.
A big part of my studio time is spent matting and framing both my own work and fabricating the frames Martha Ressler uses for her Art Quilts. This post is about how I make the frames for my larger photographs.
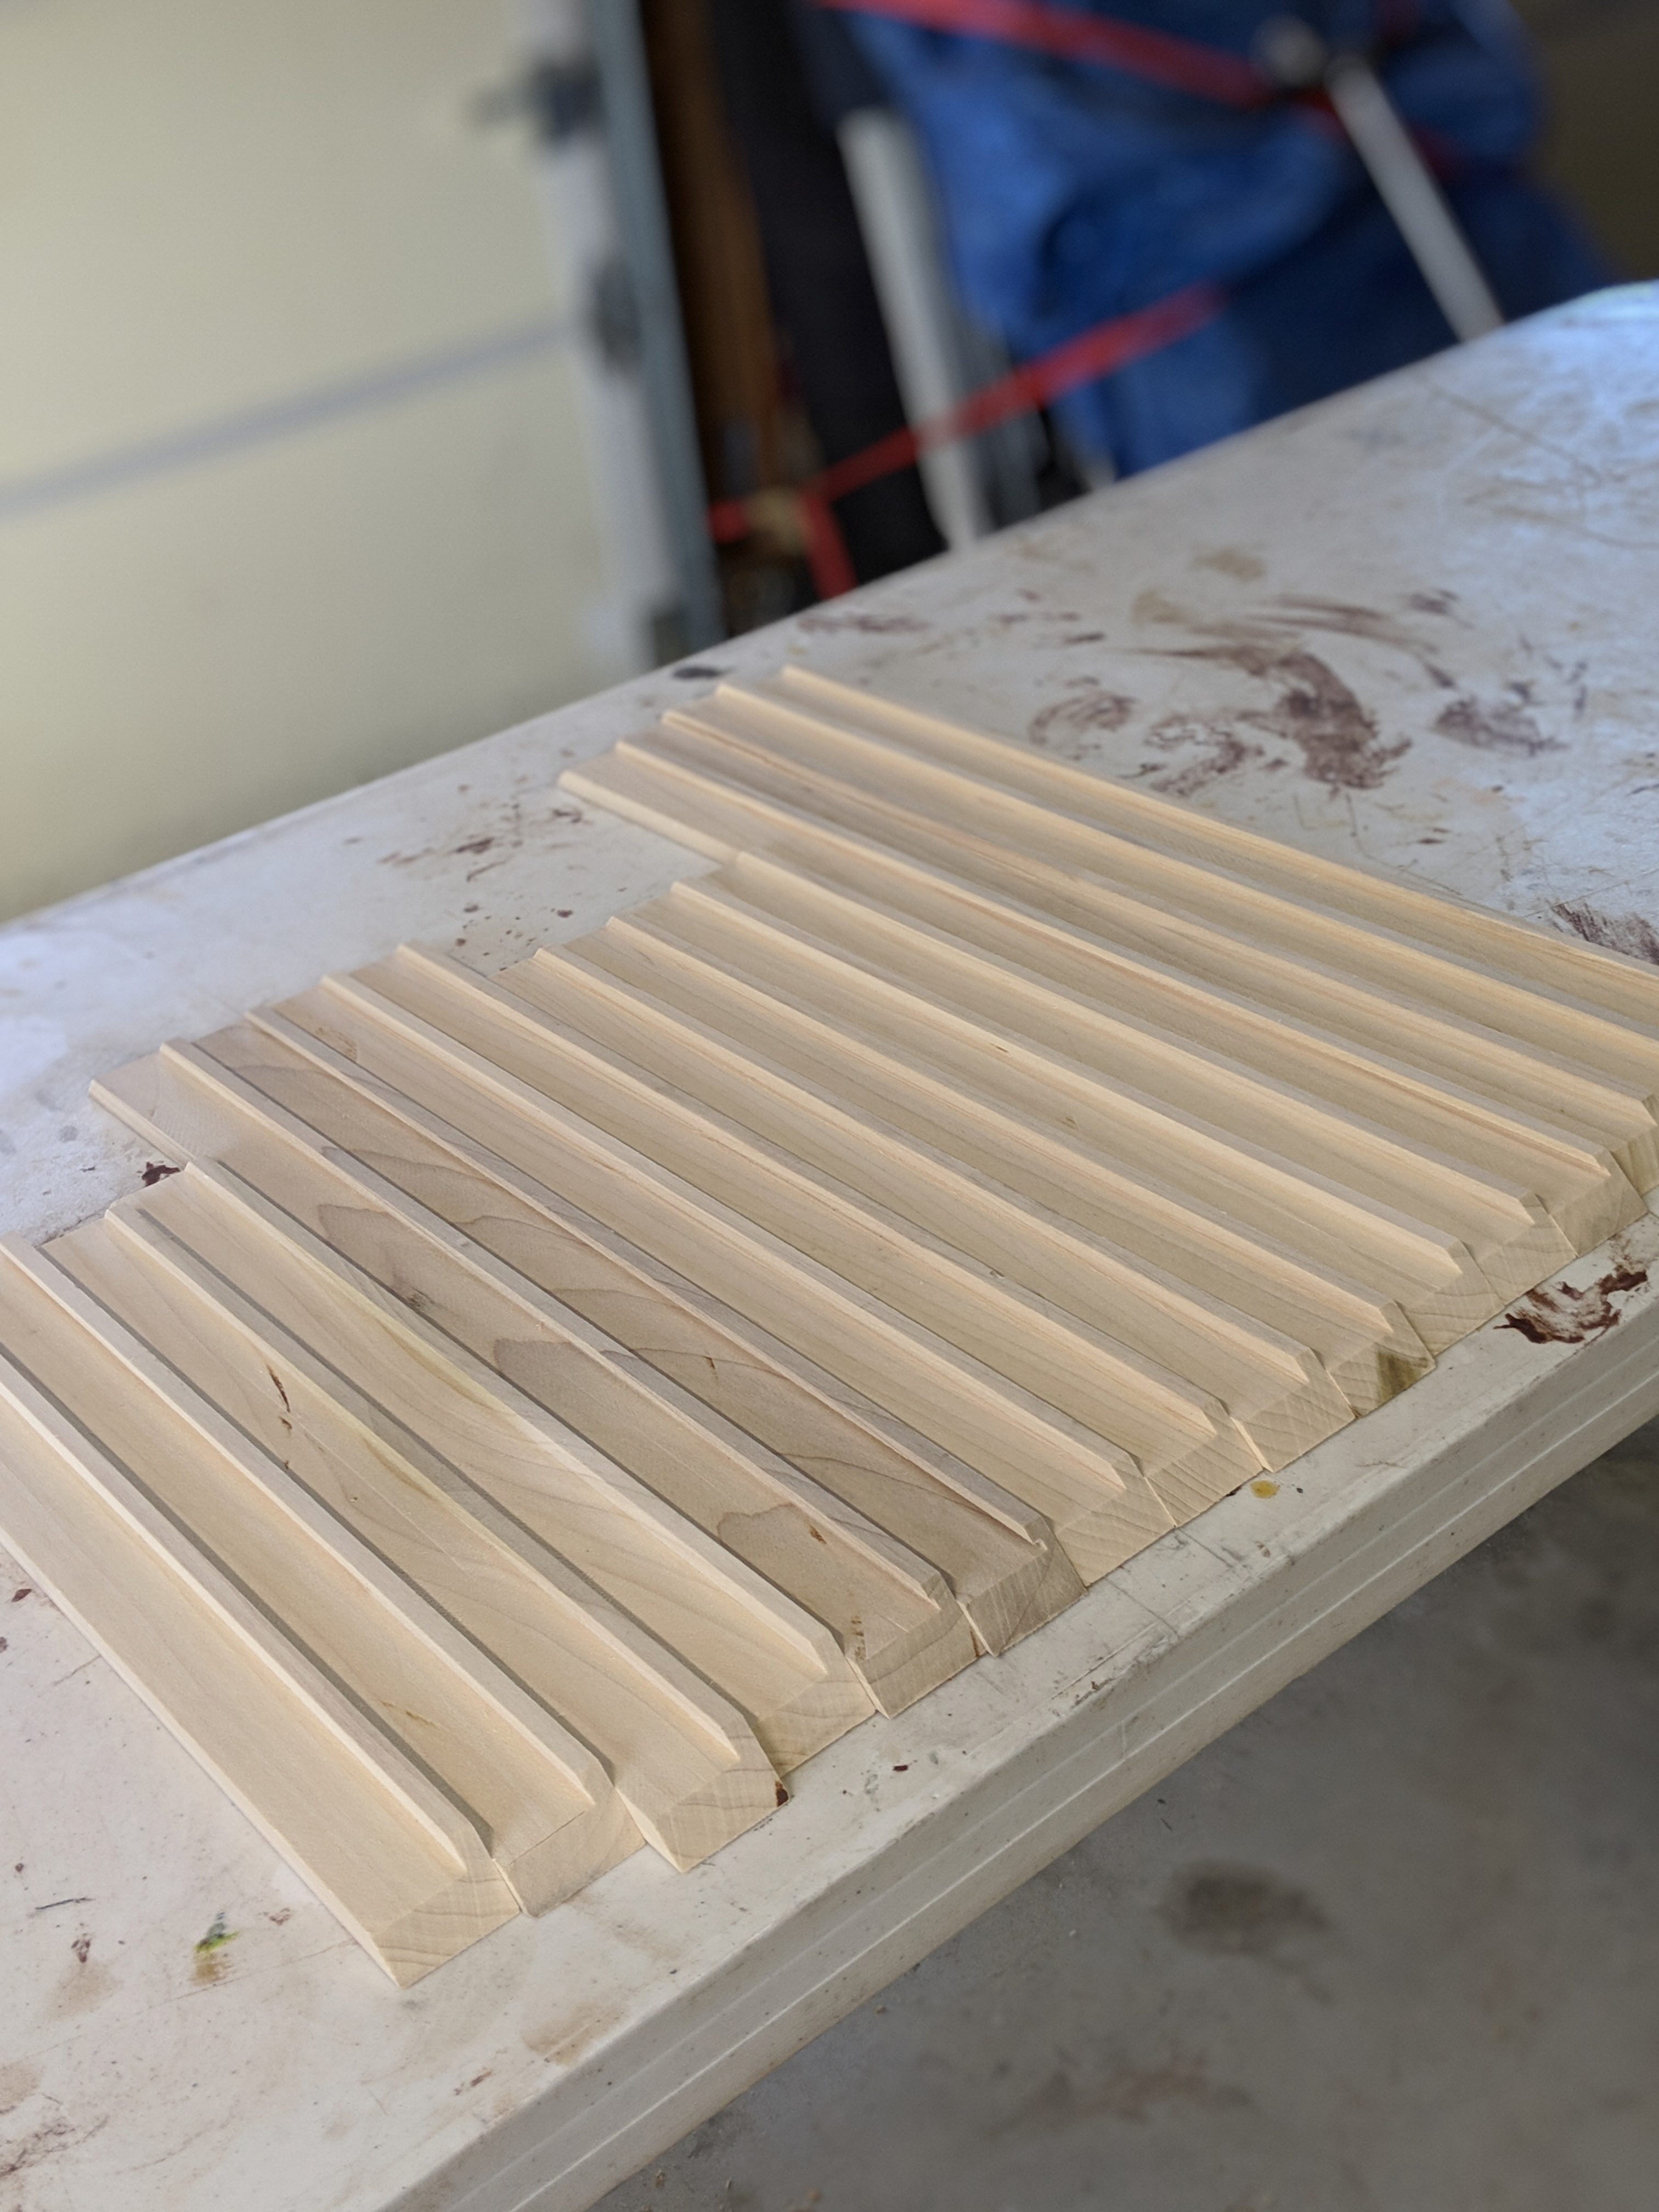
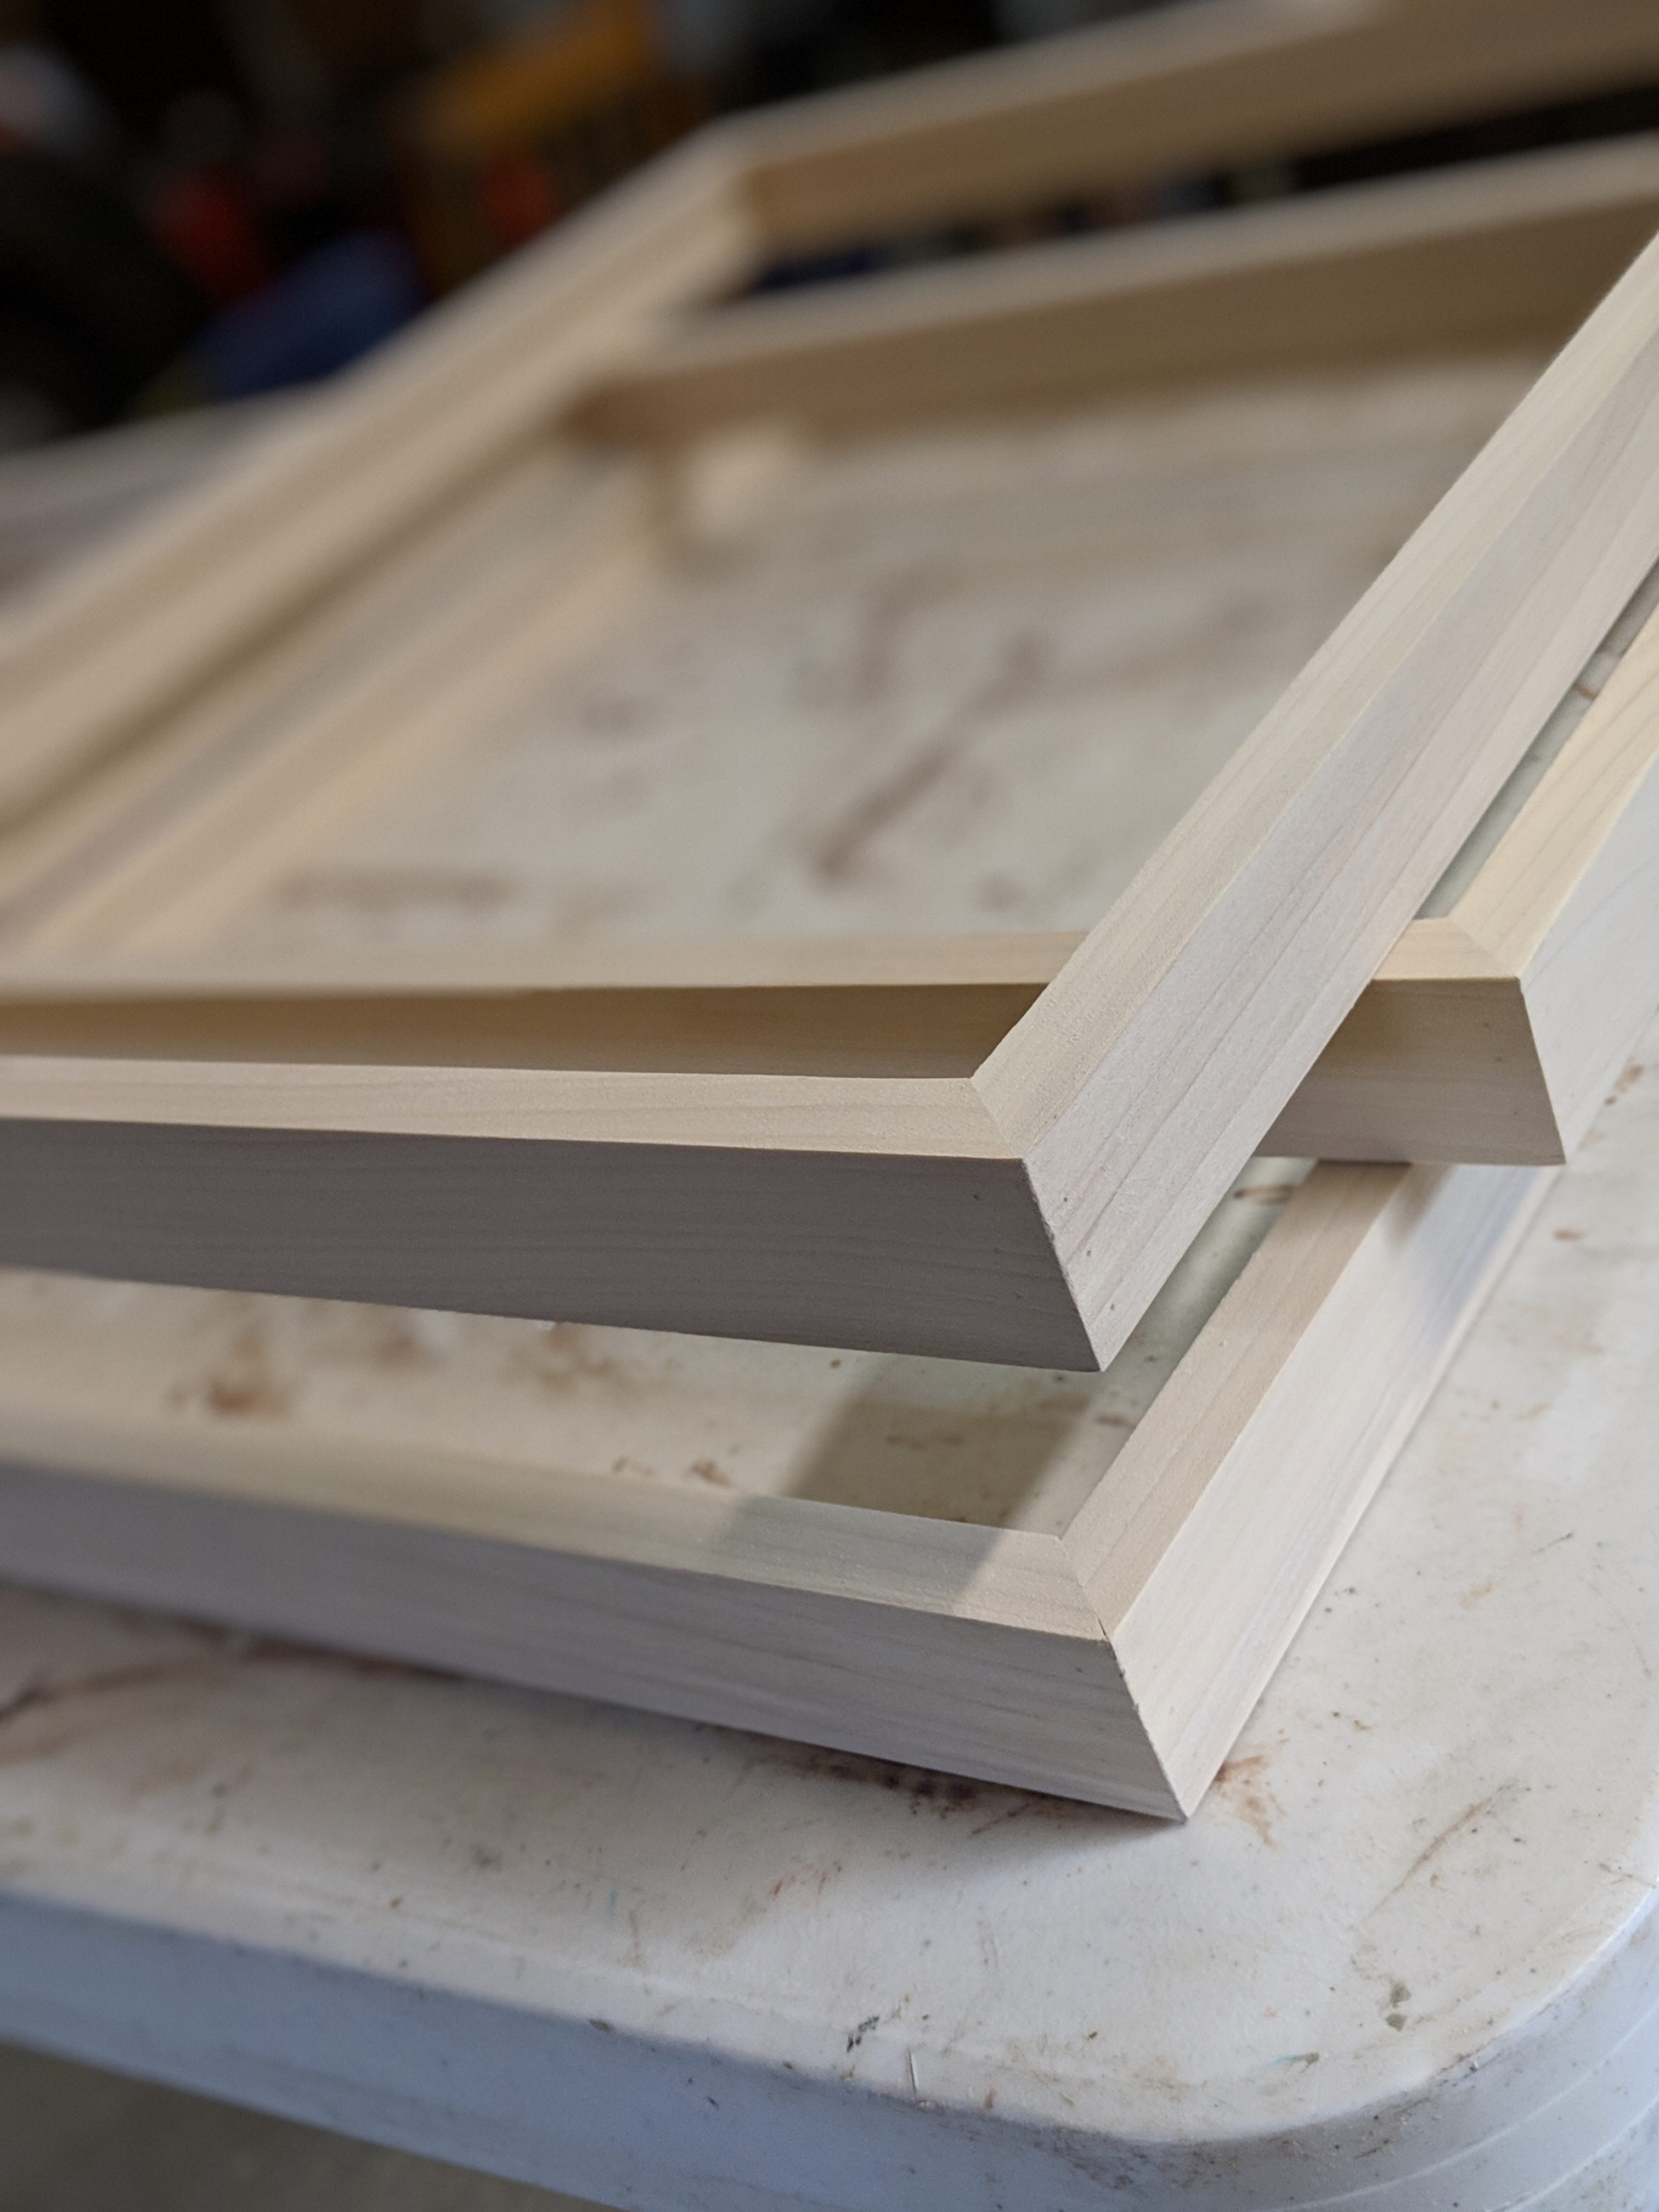
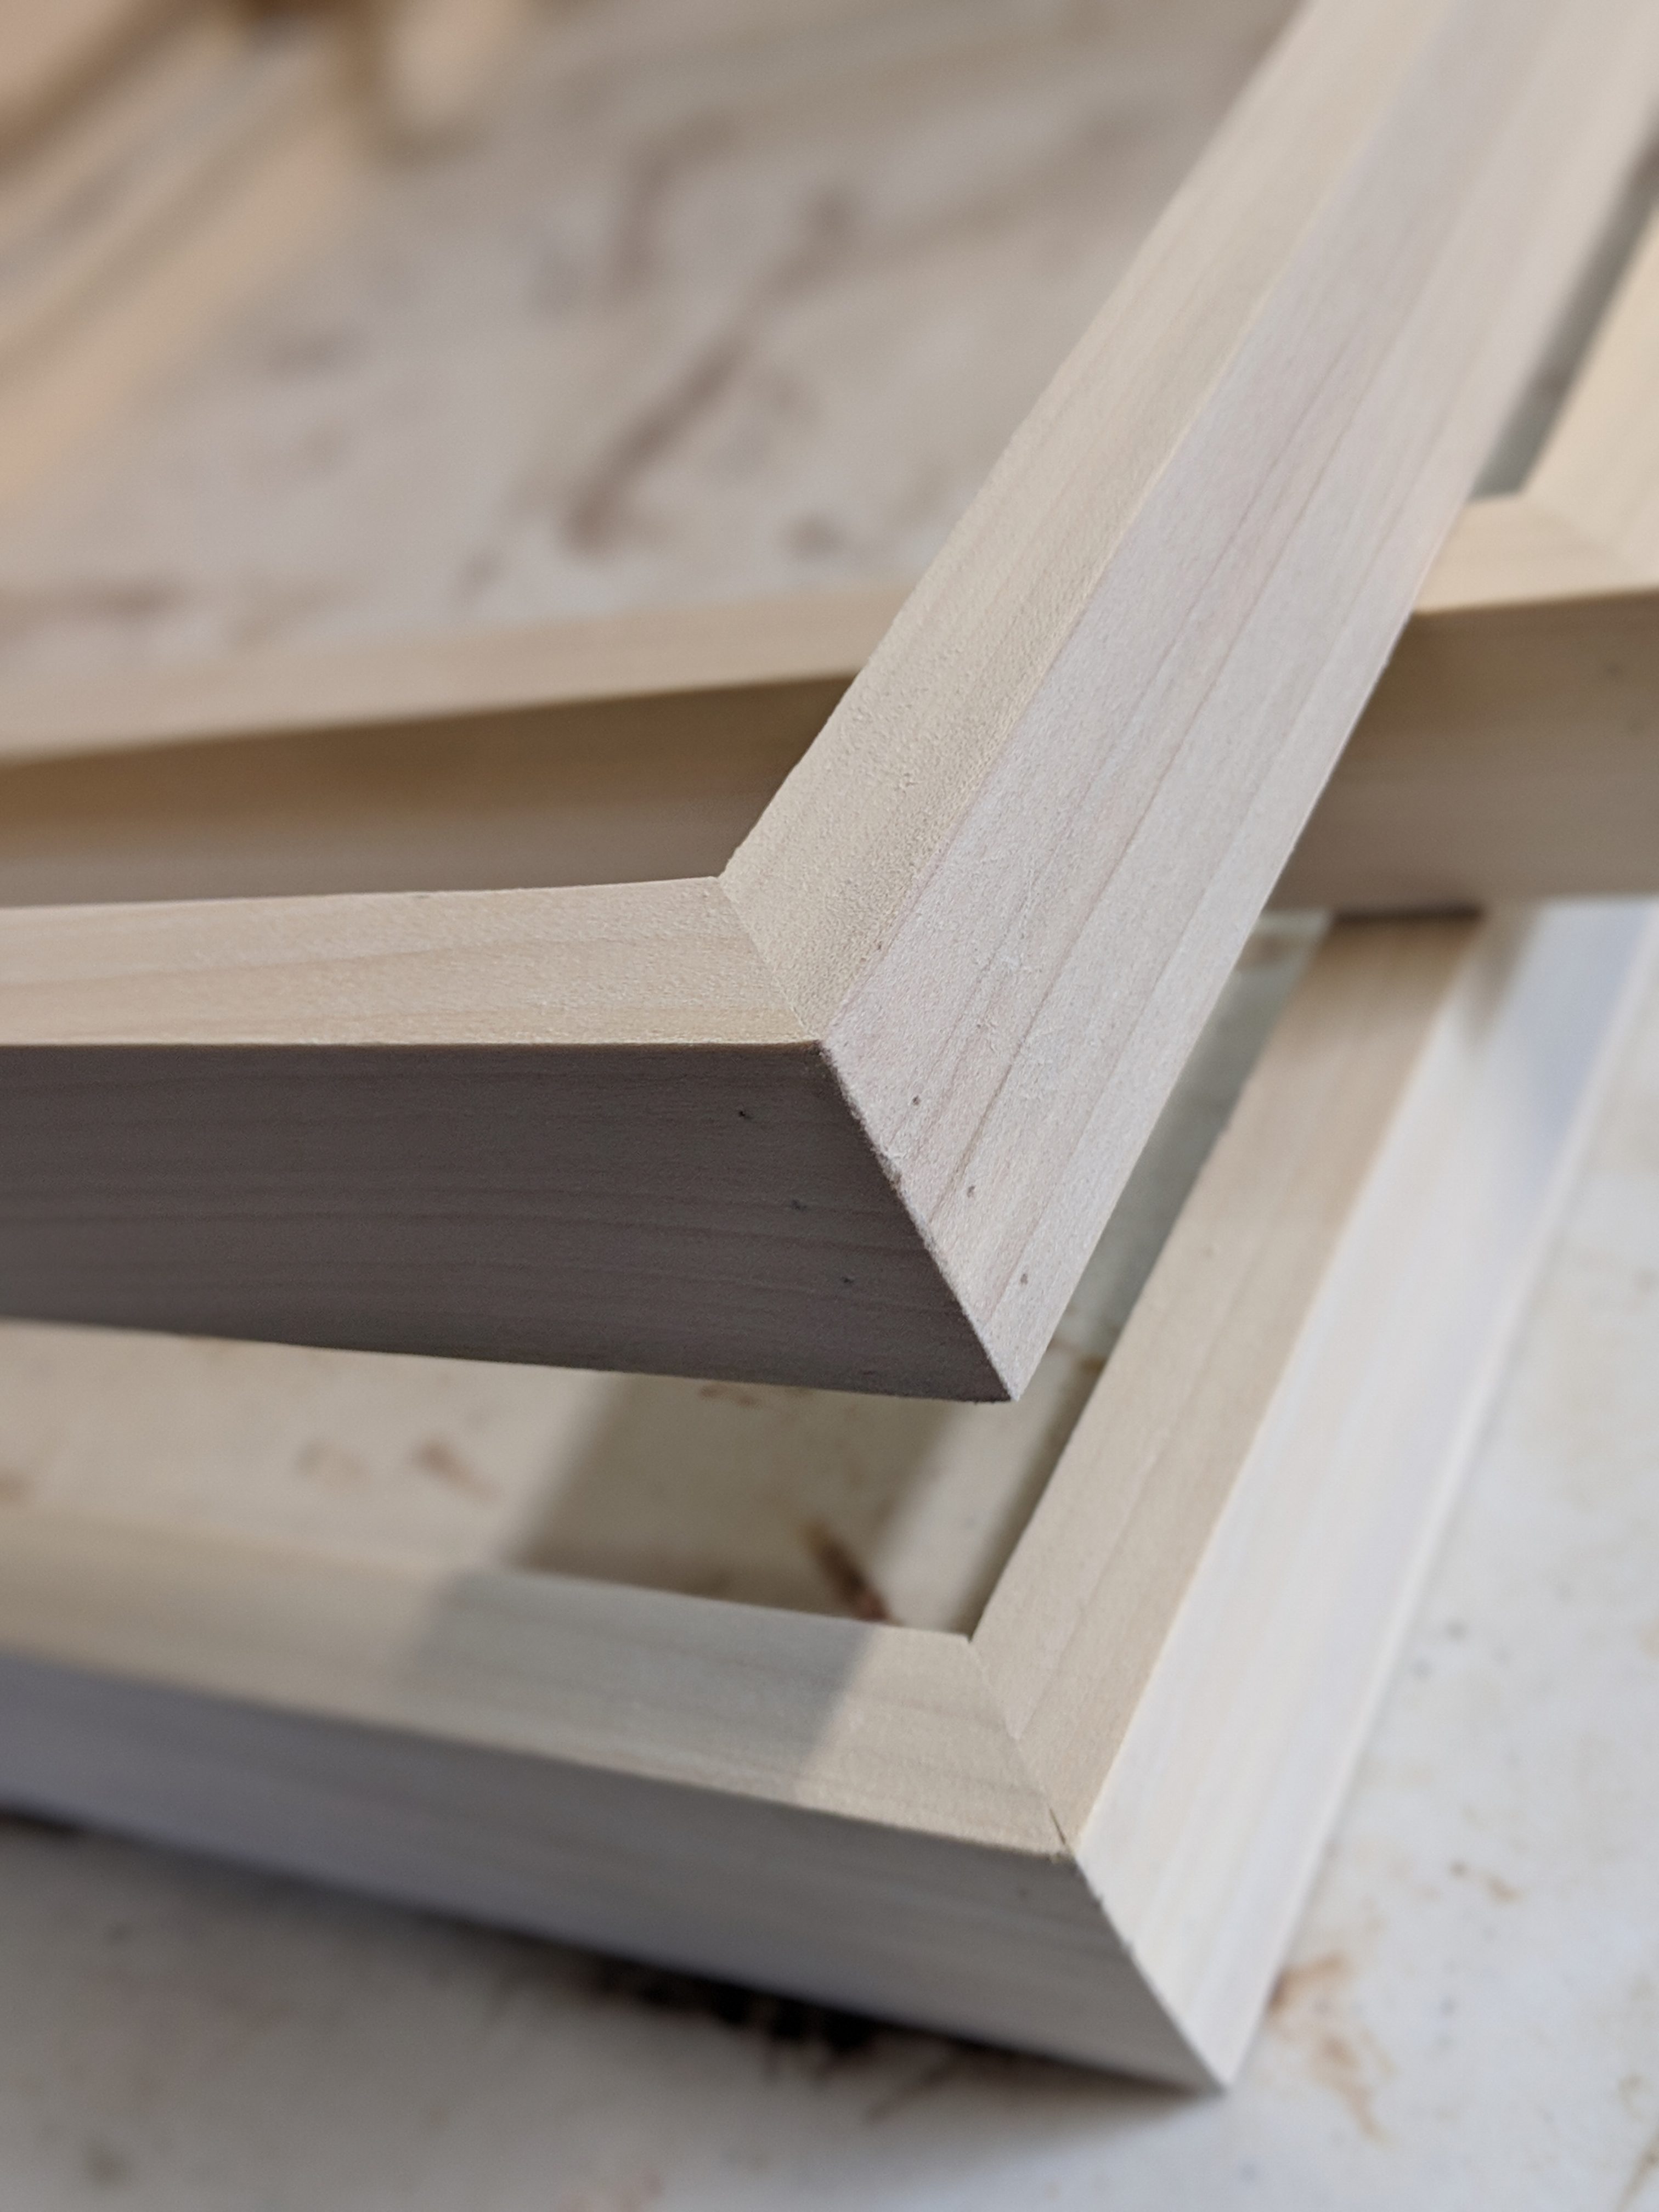
I manufacture frames with several different profiles. Though they are all pretty much variations on a theme, the profiles and materials depend on what they are used for. For my large photo frames, I use poplar wood stained ebony. I also use reclaimed barn wood for Martha’s frames and burned and brushed cedar for my small encaustics. In later posts, I will illustrate these variations as well as my finishing process.
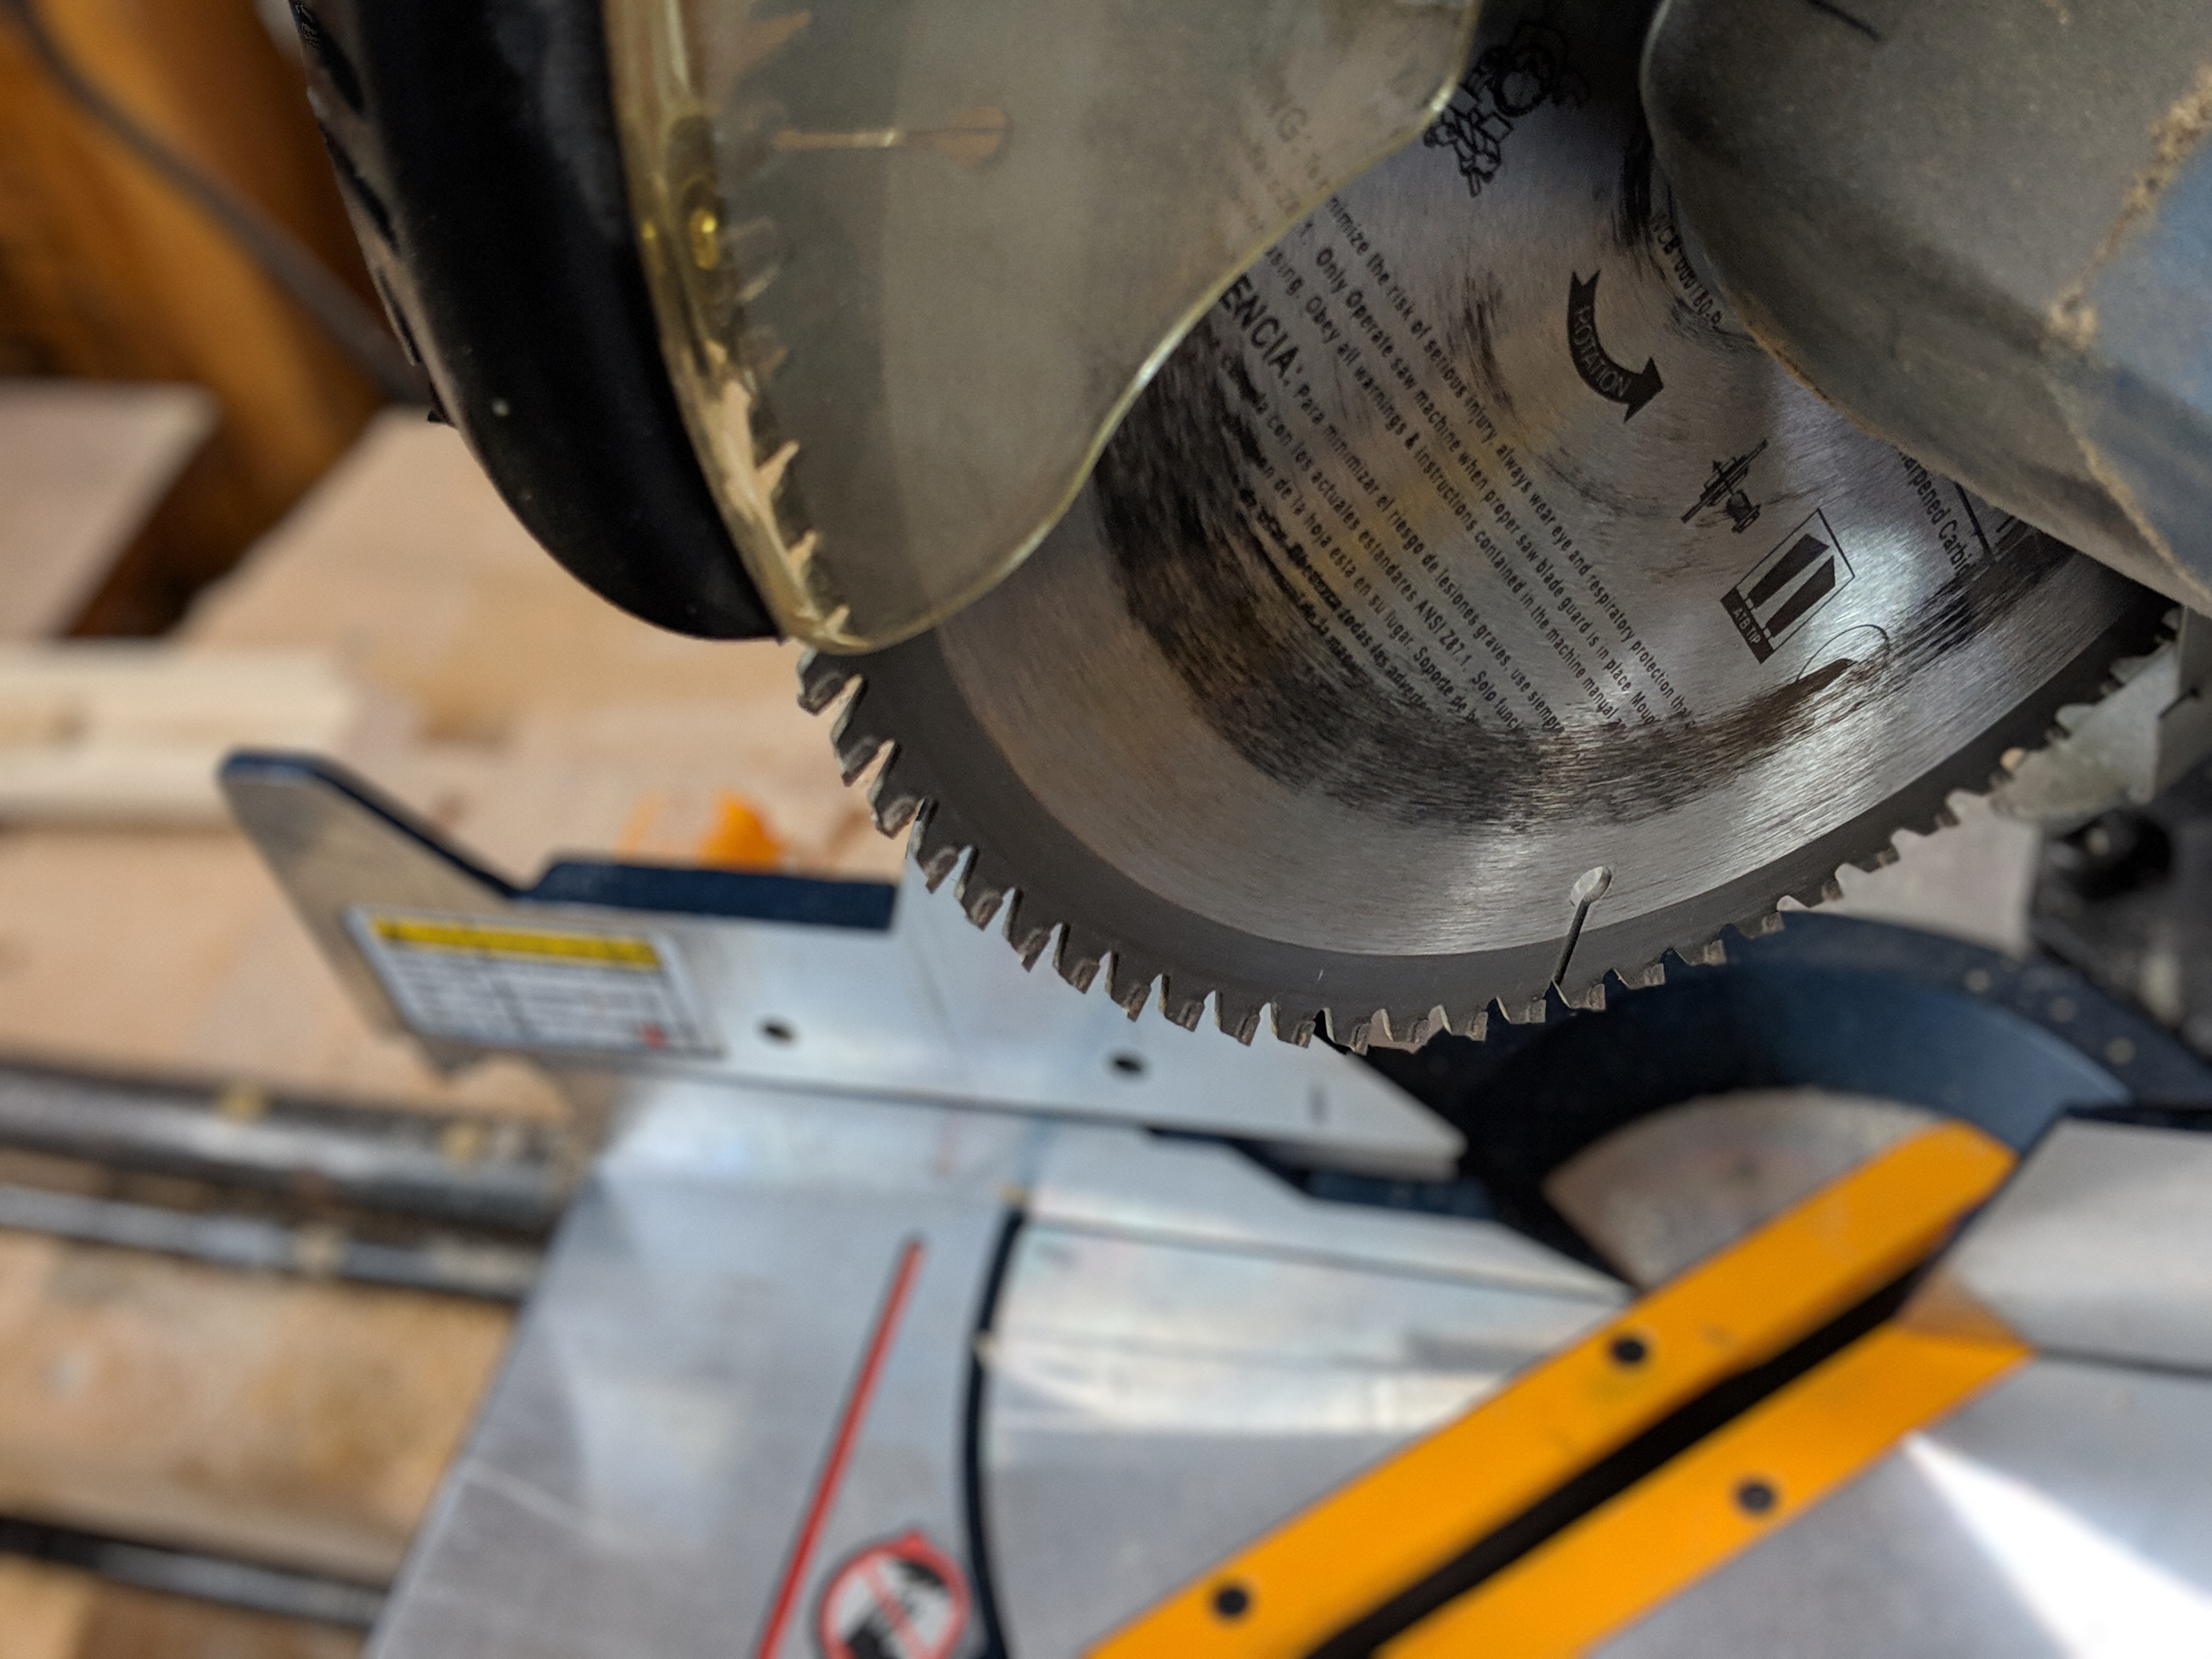
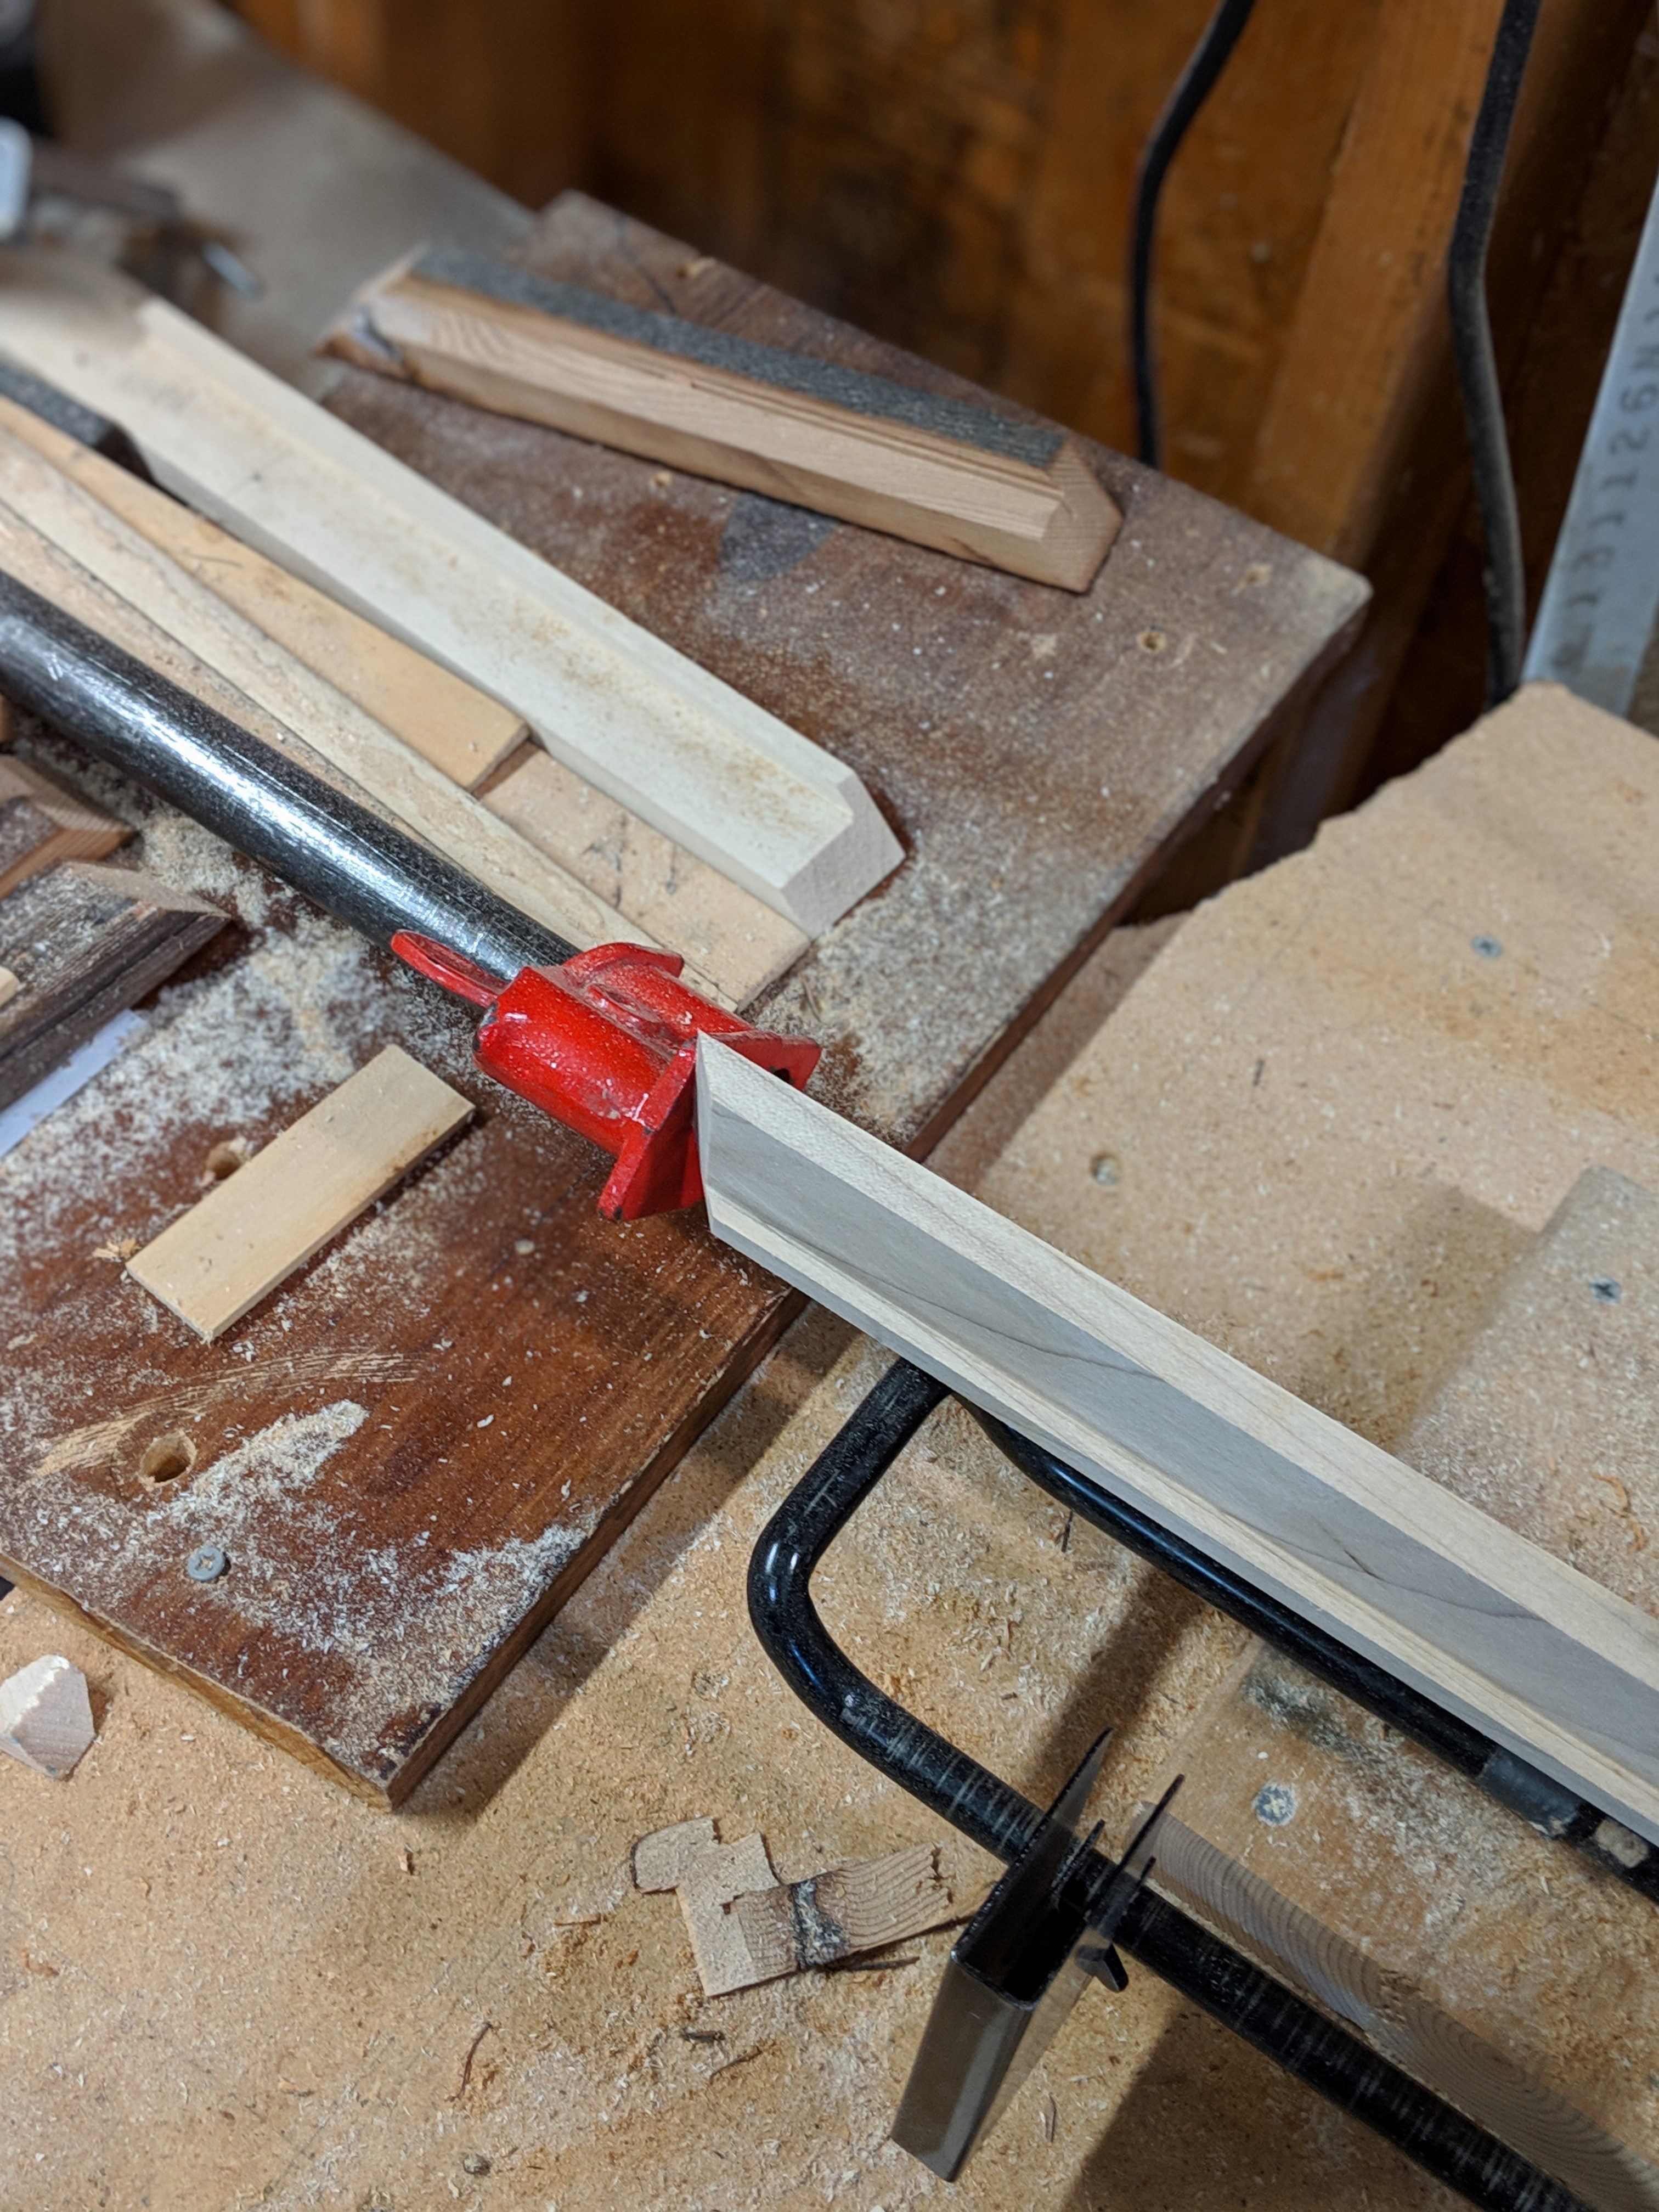
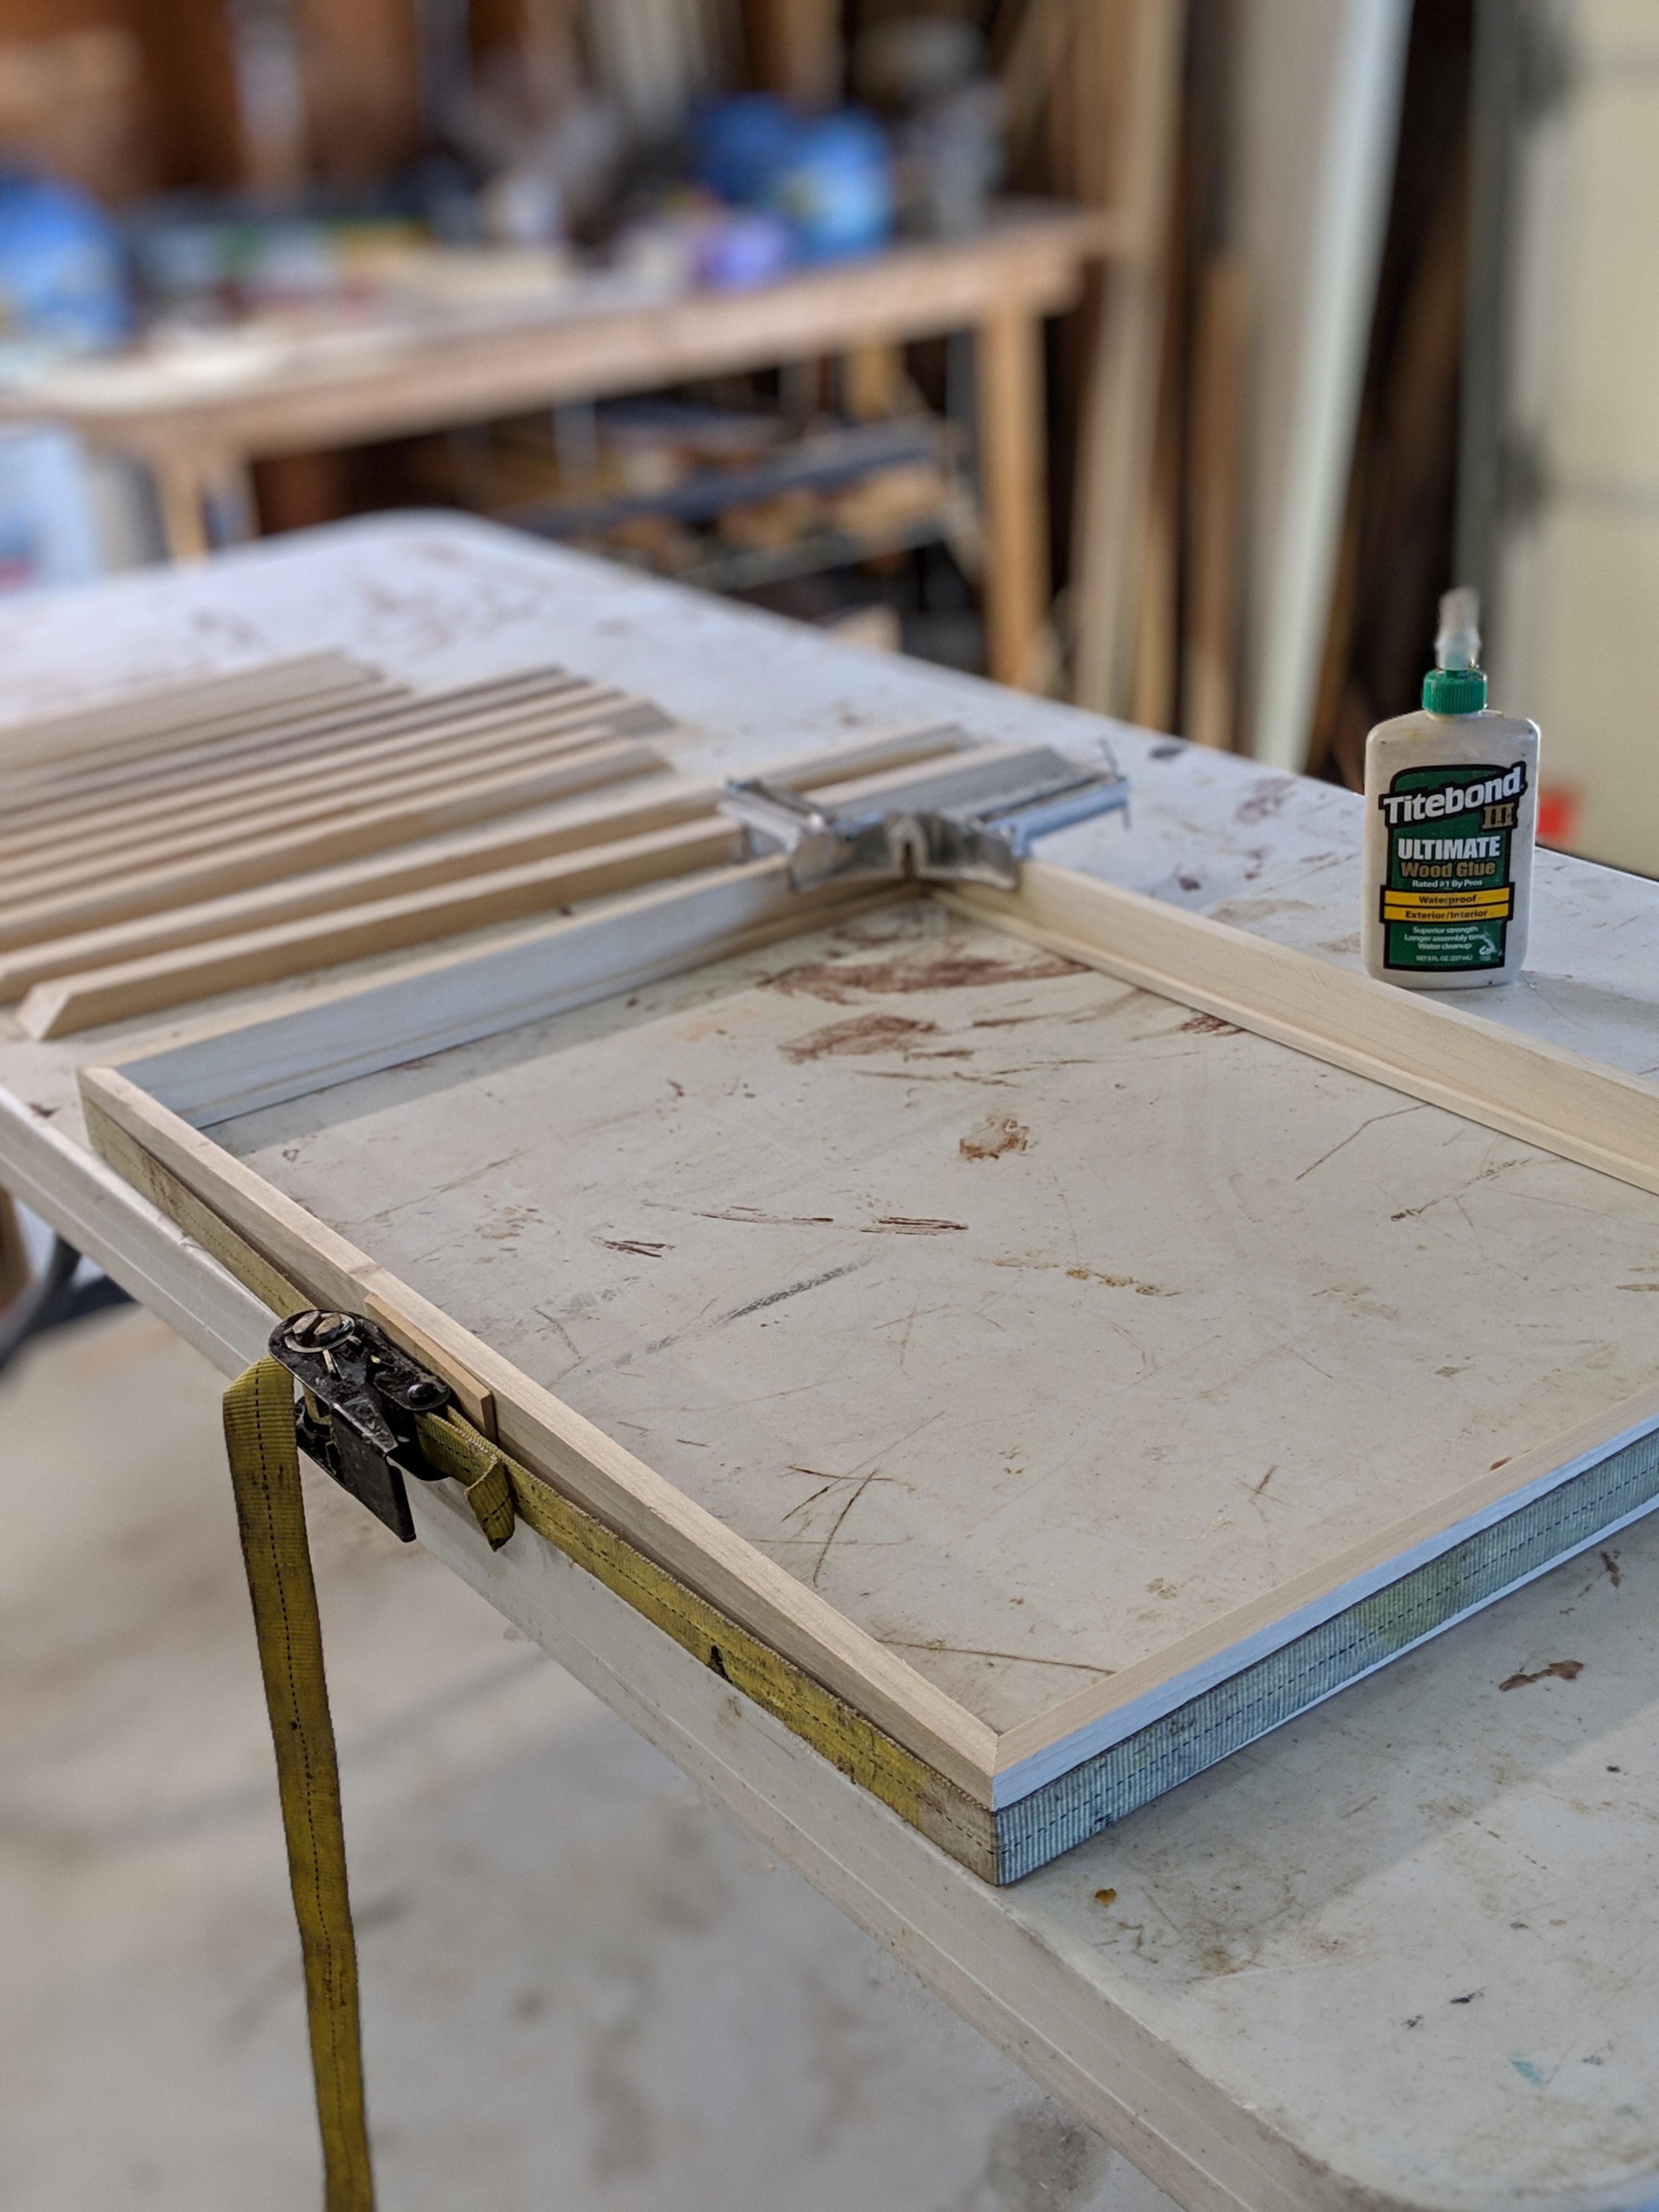
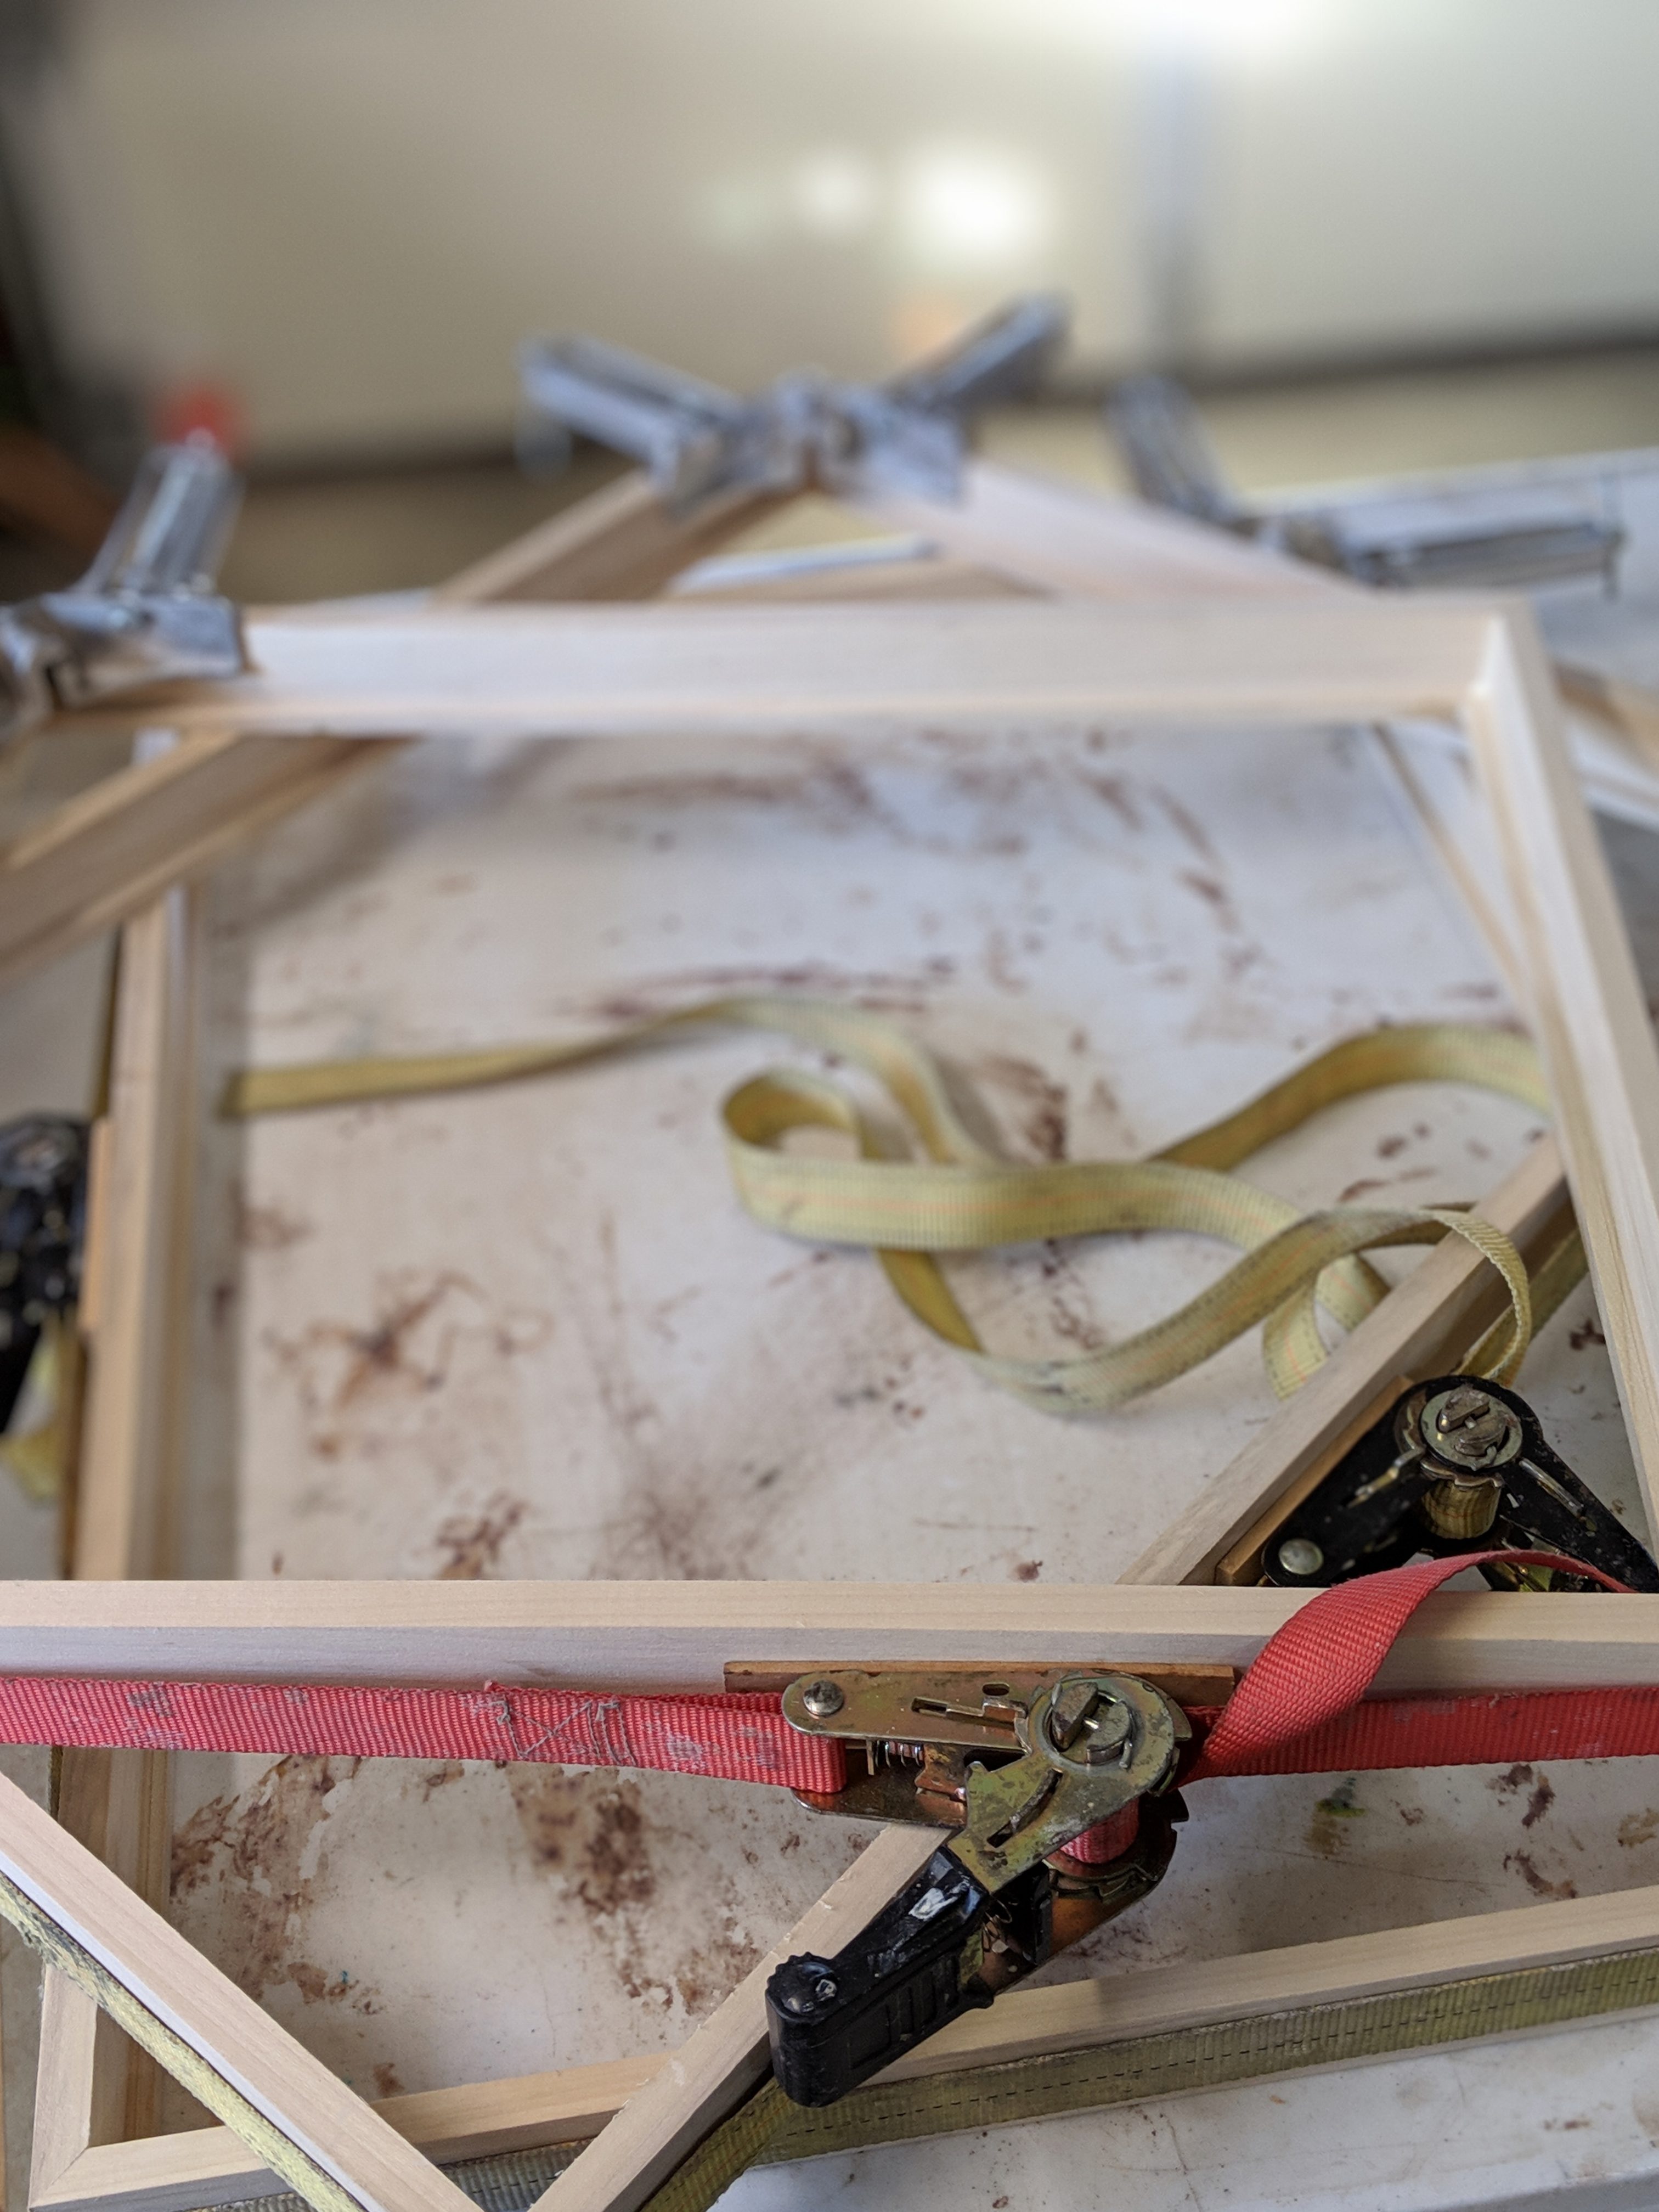
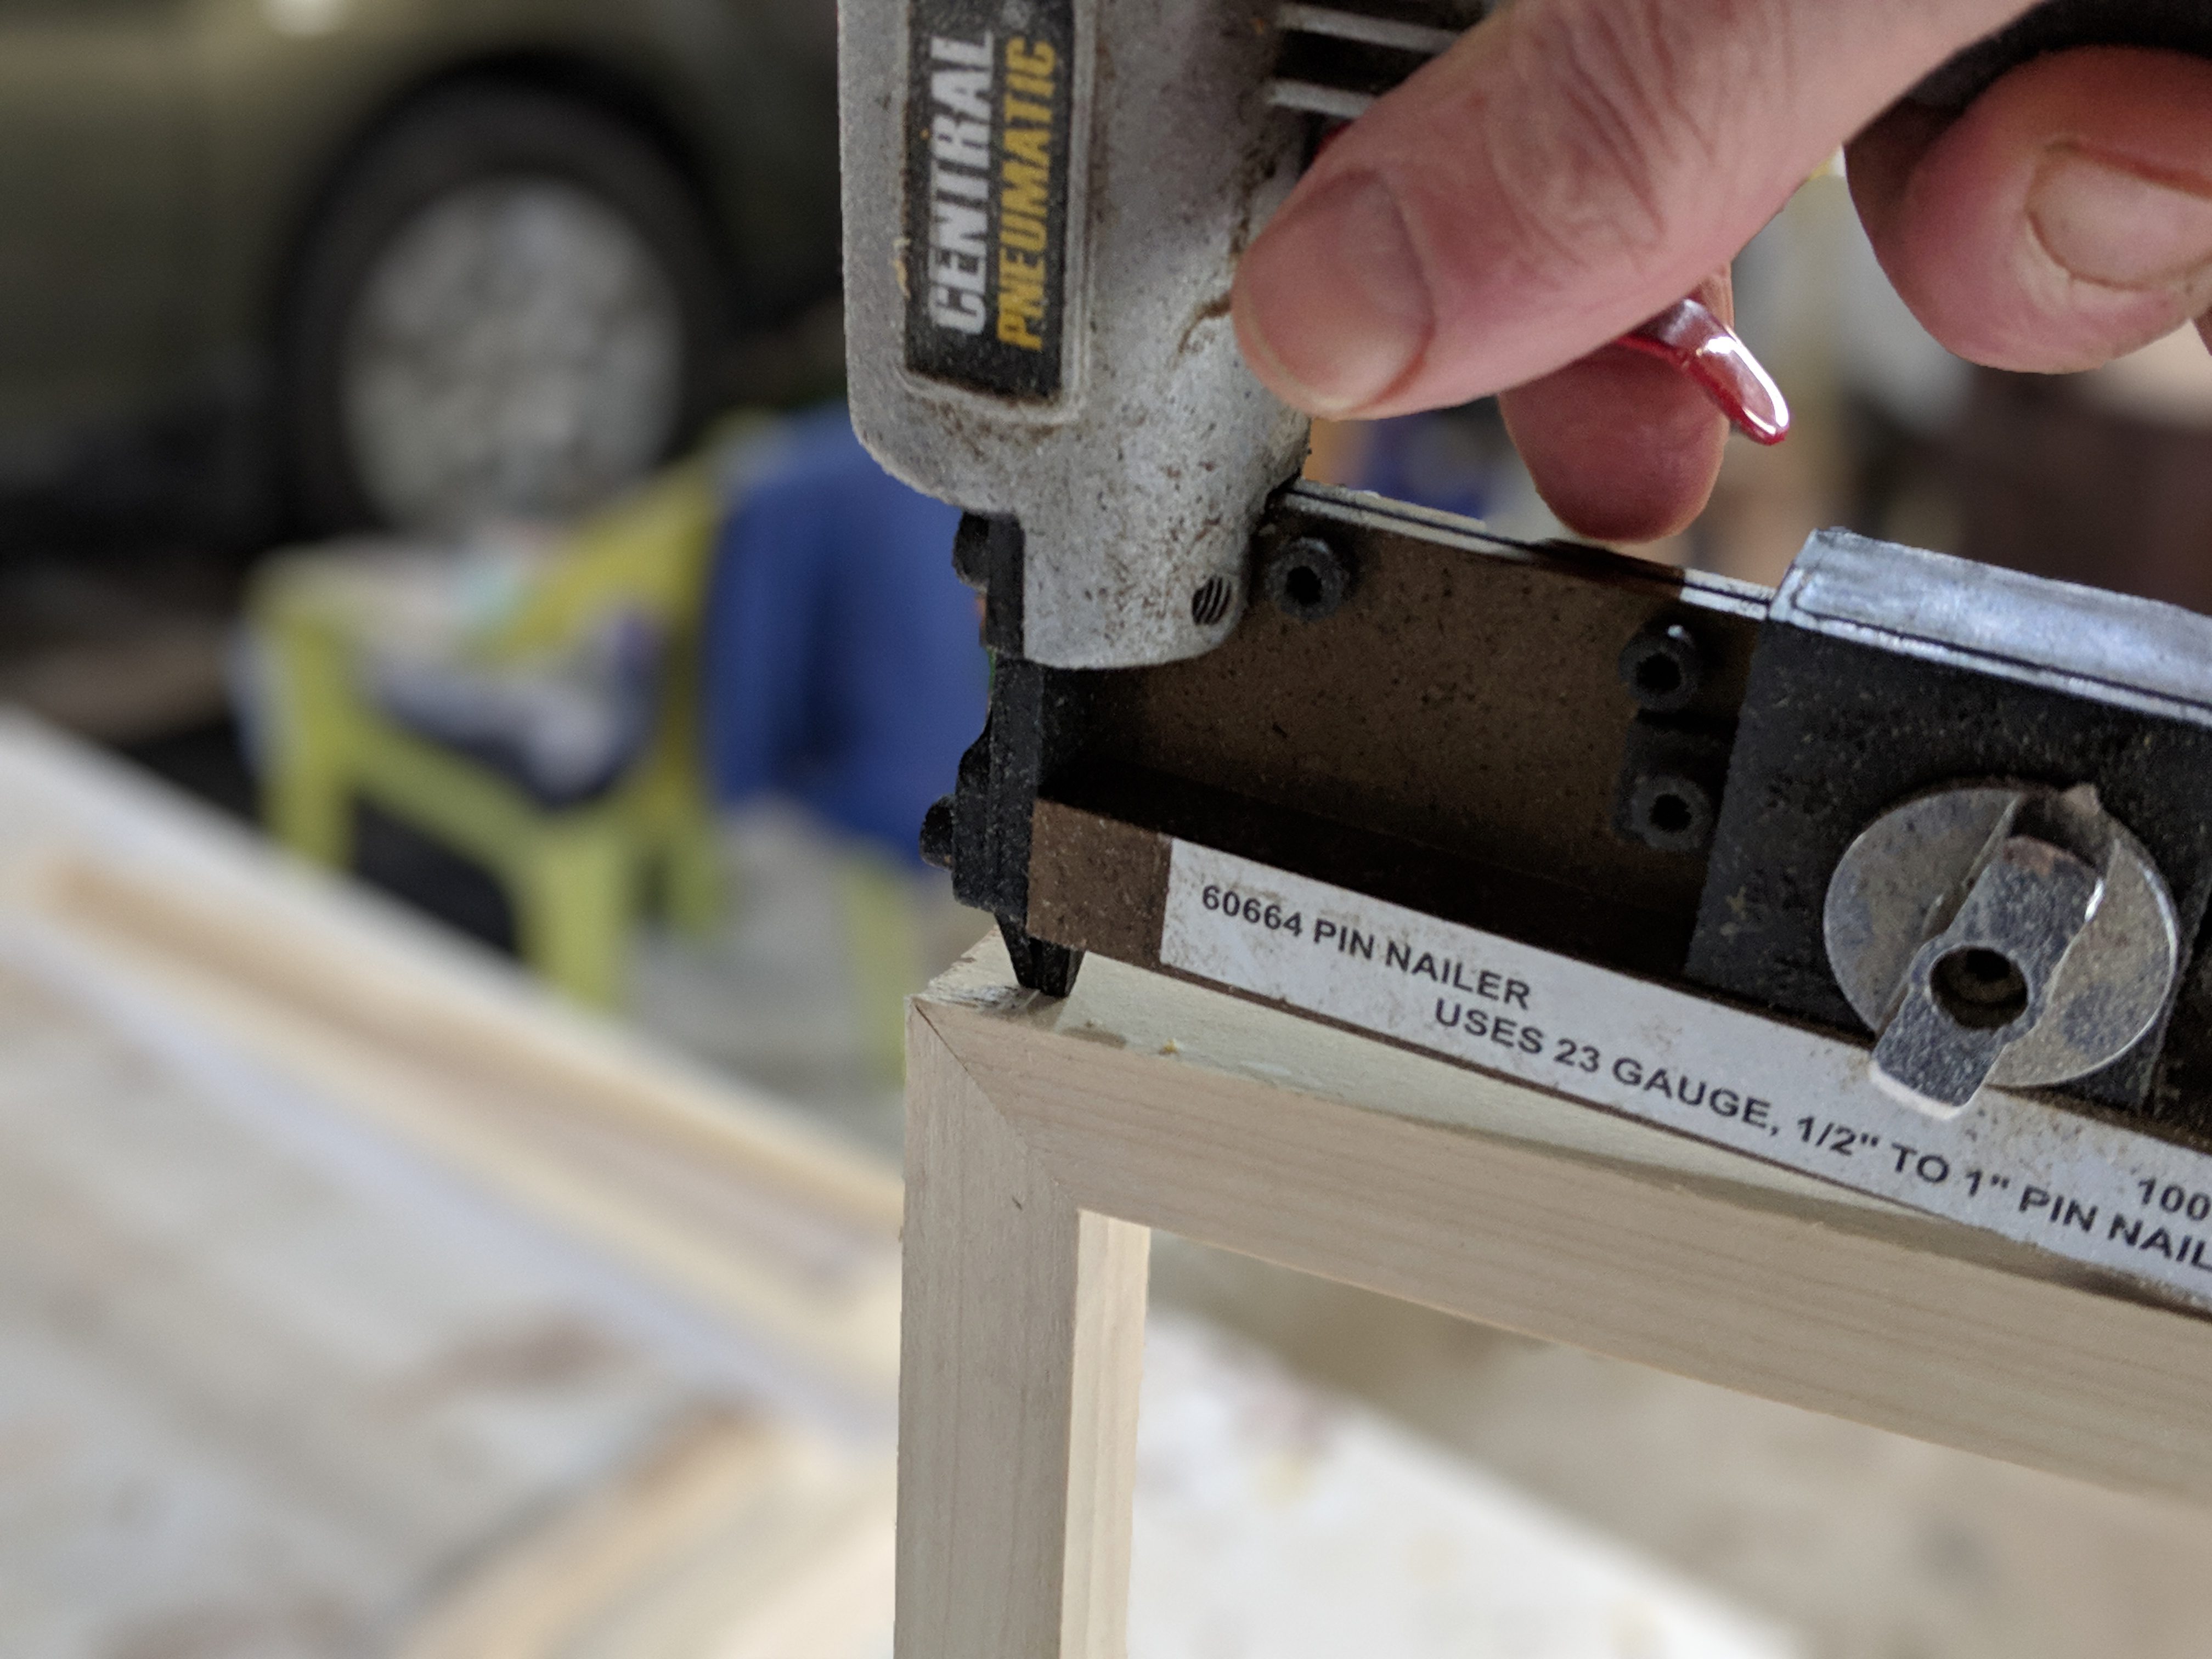
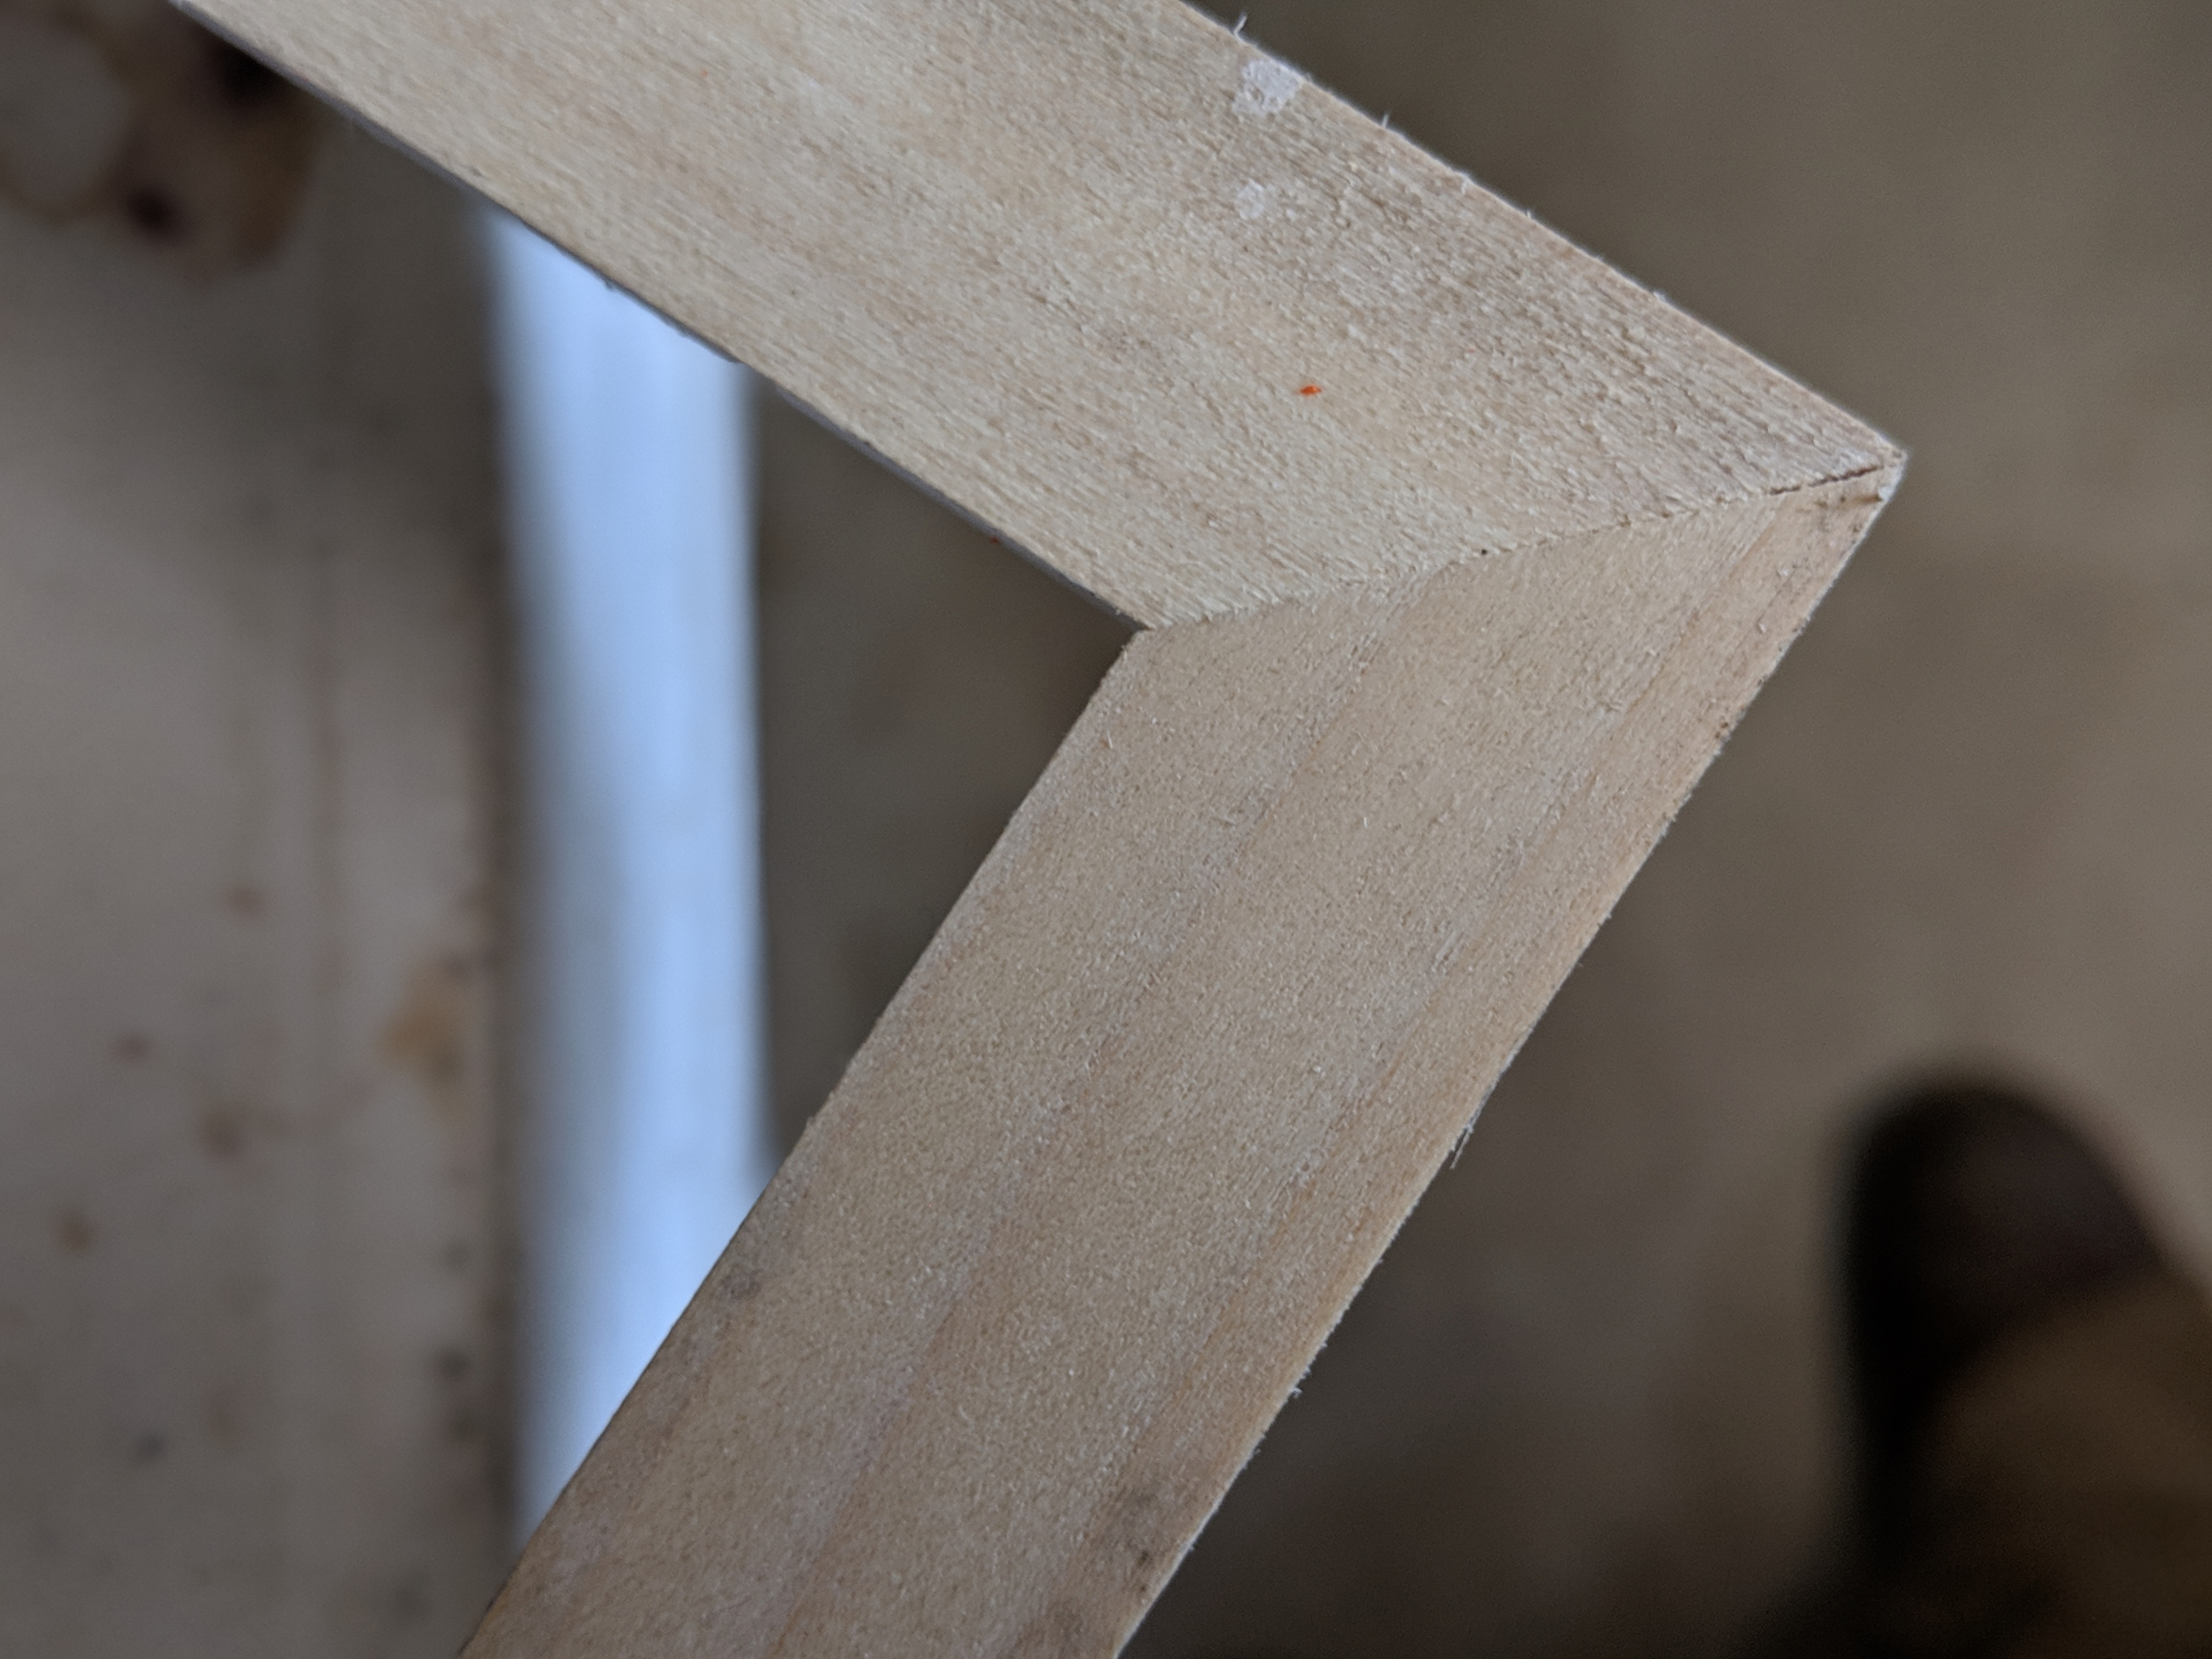
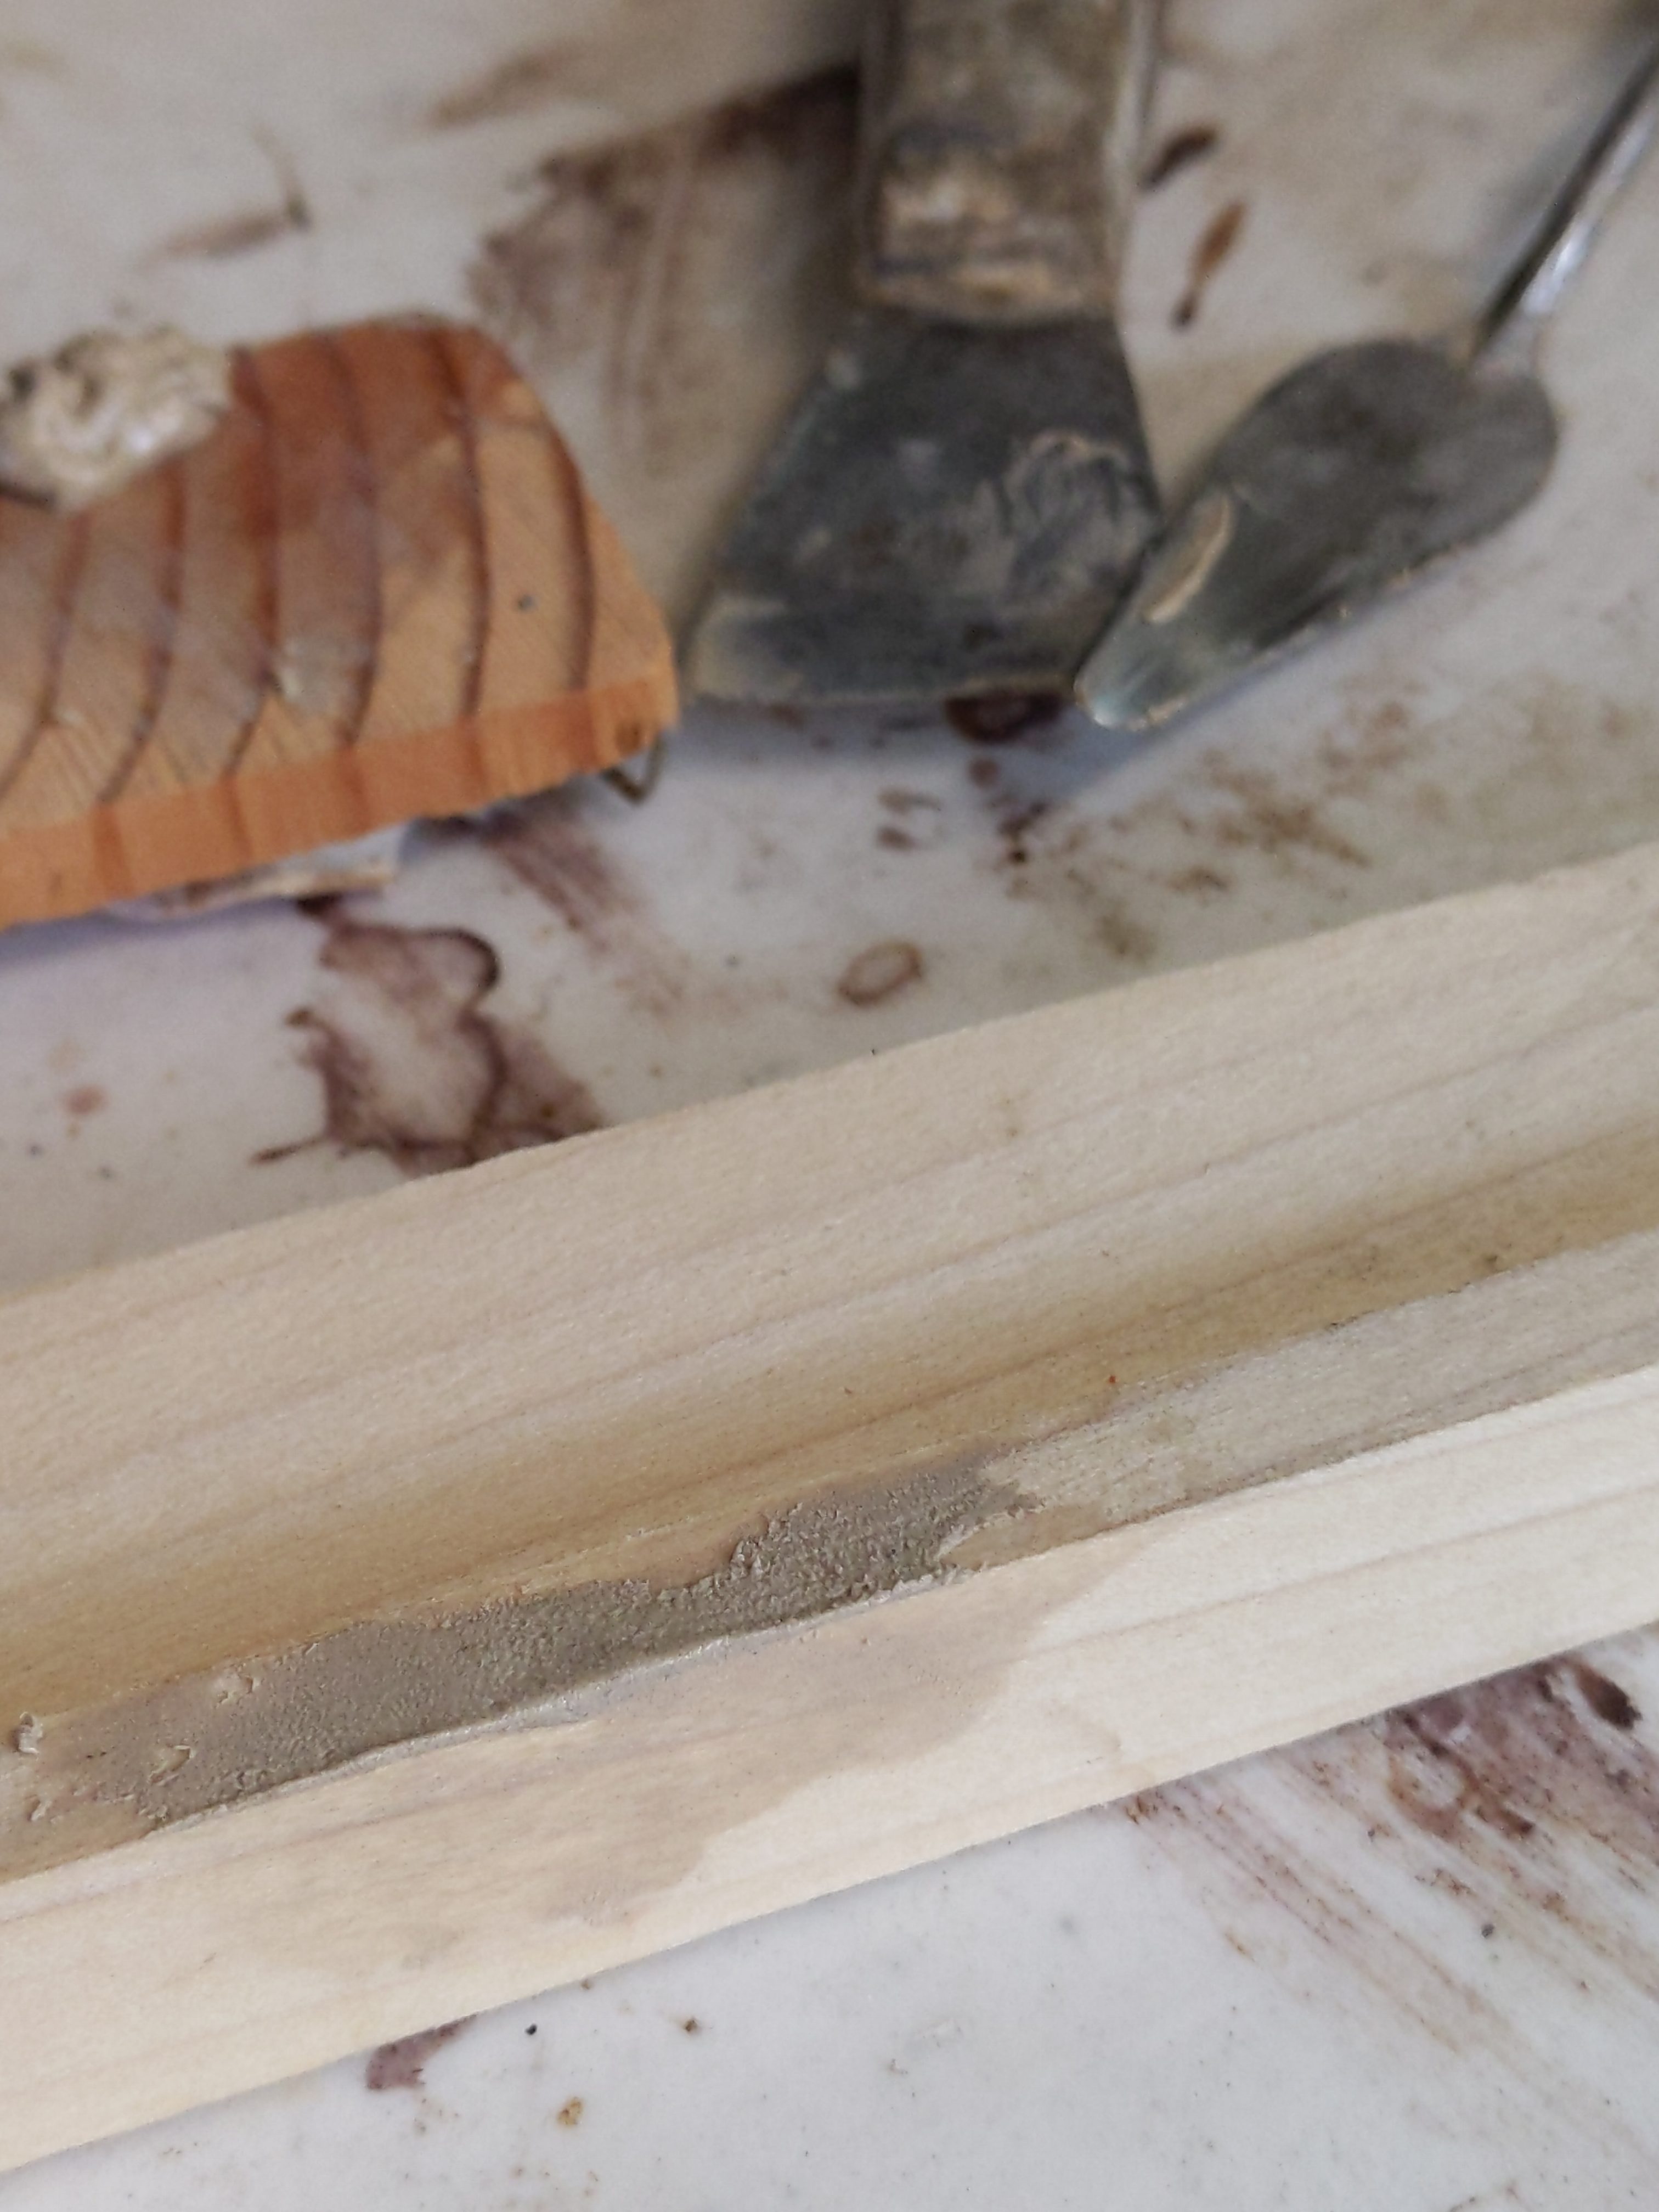
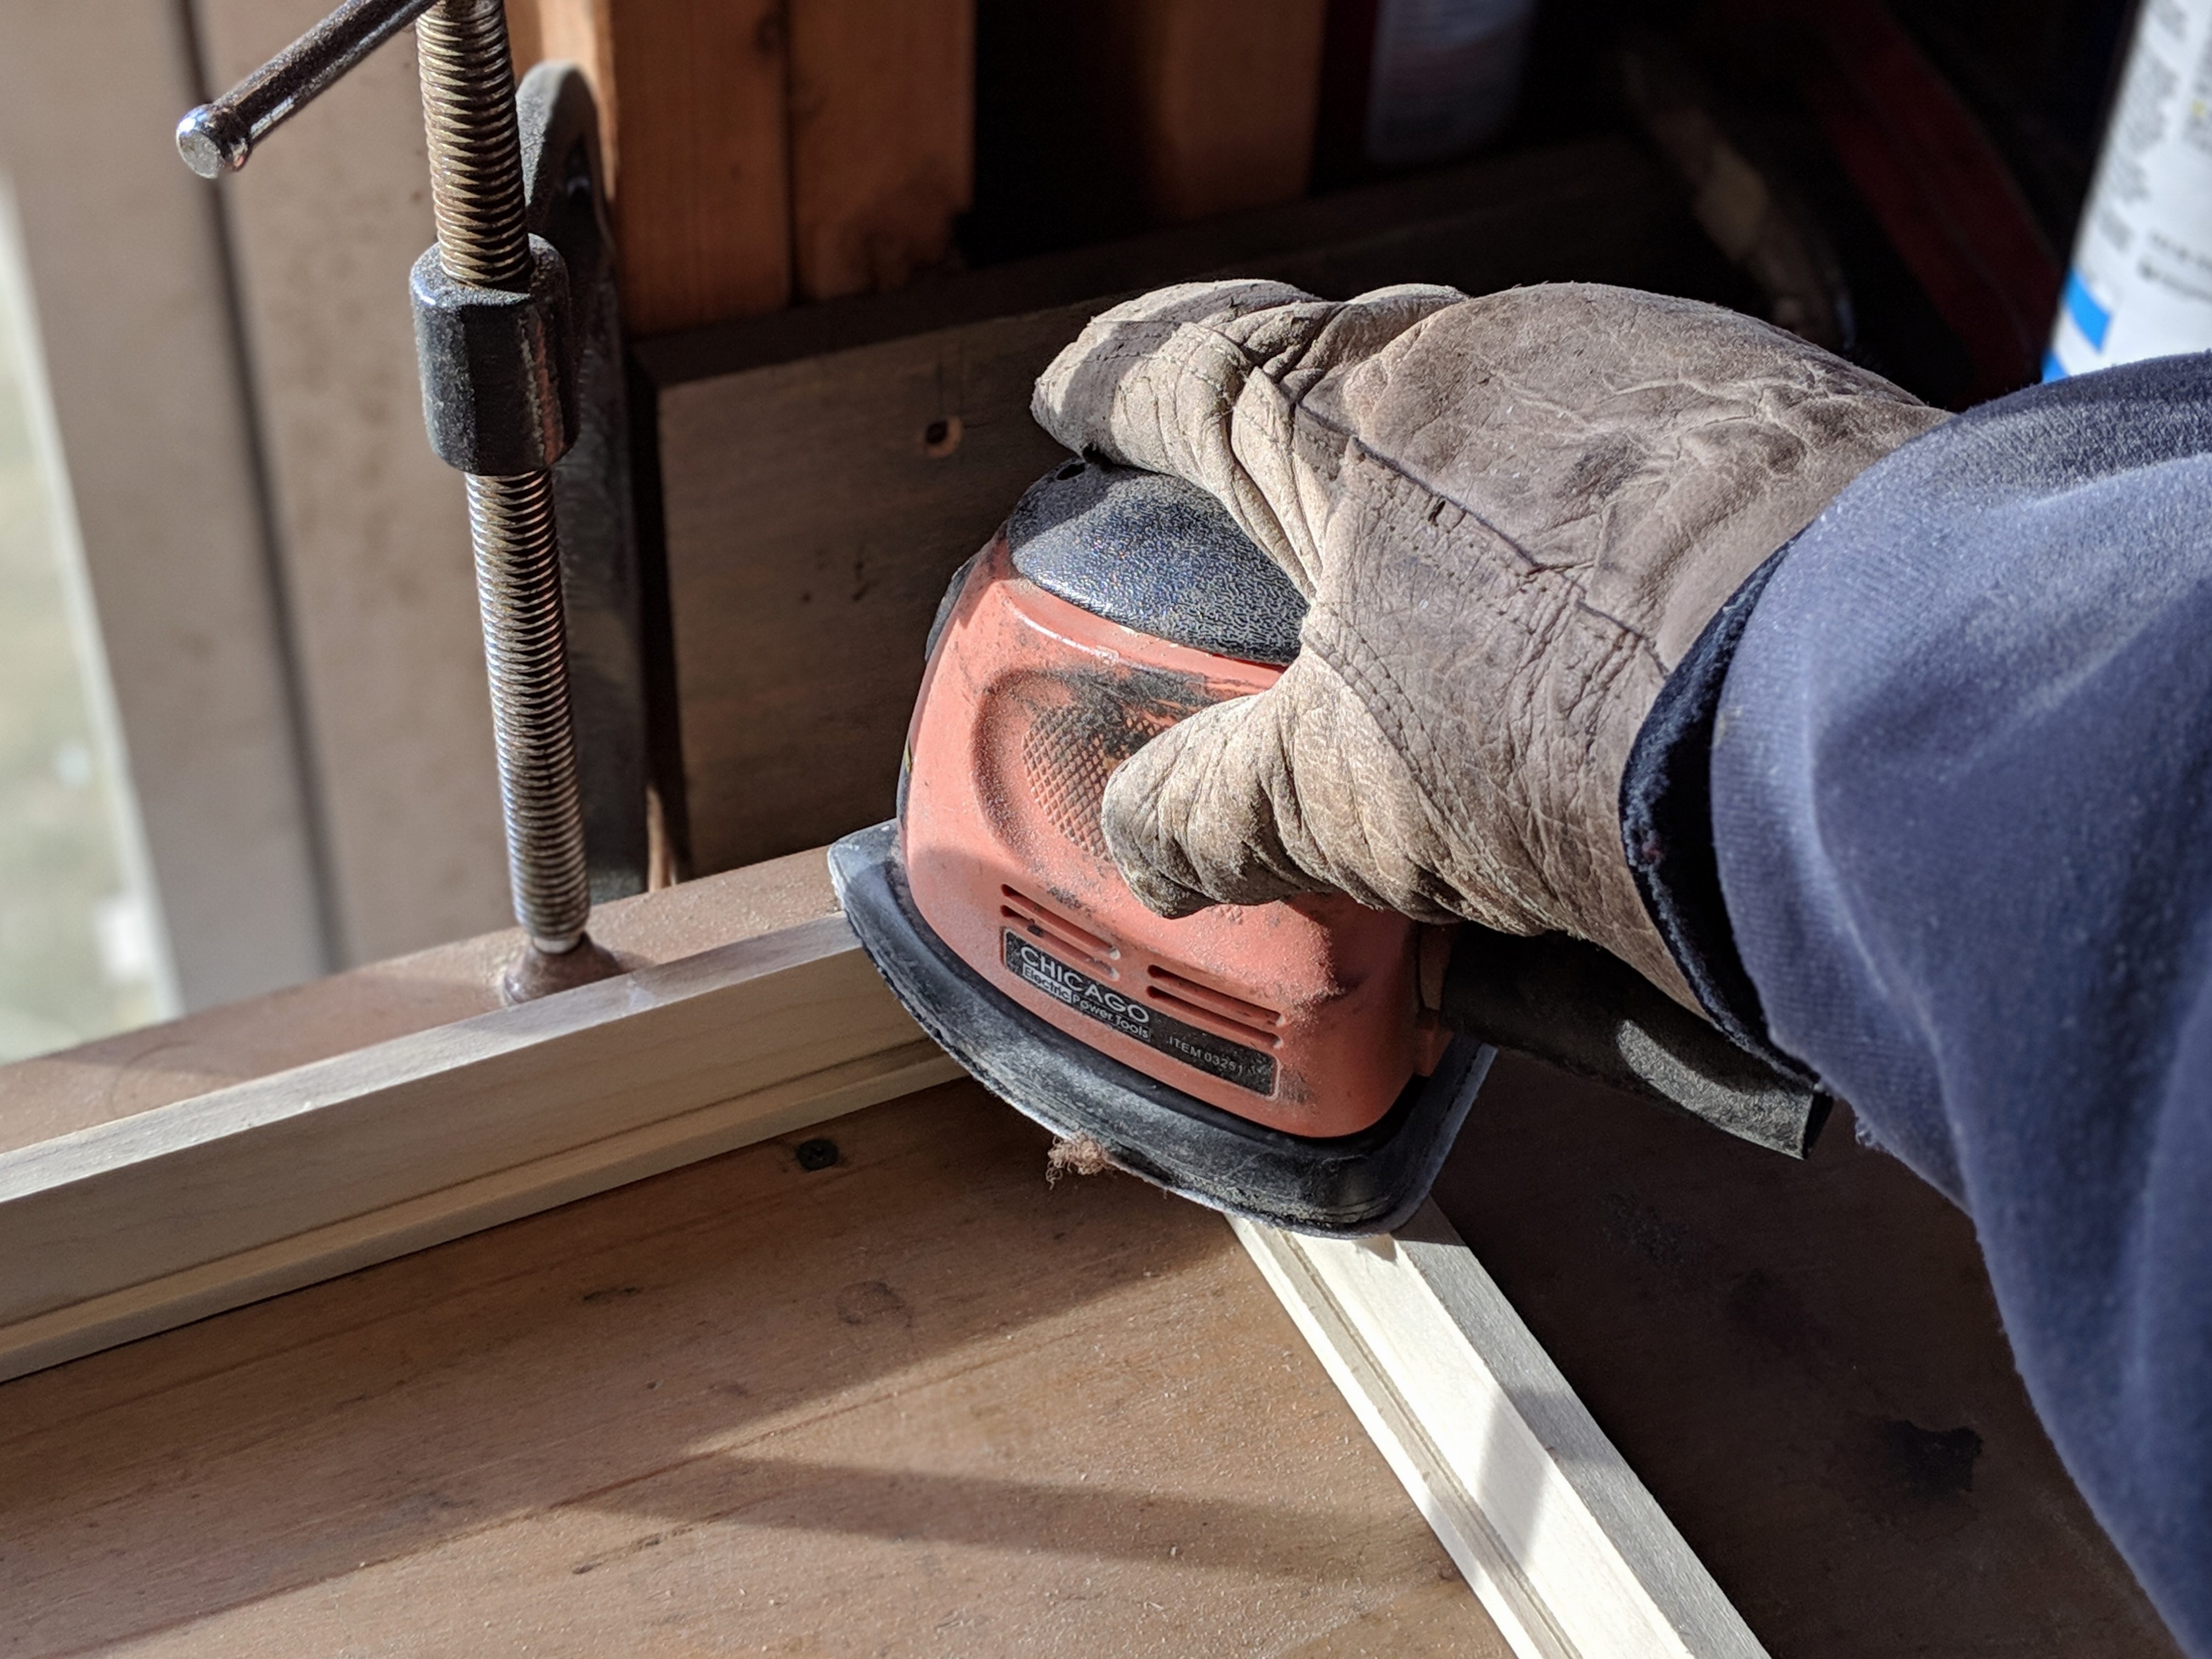
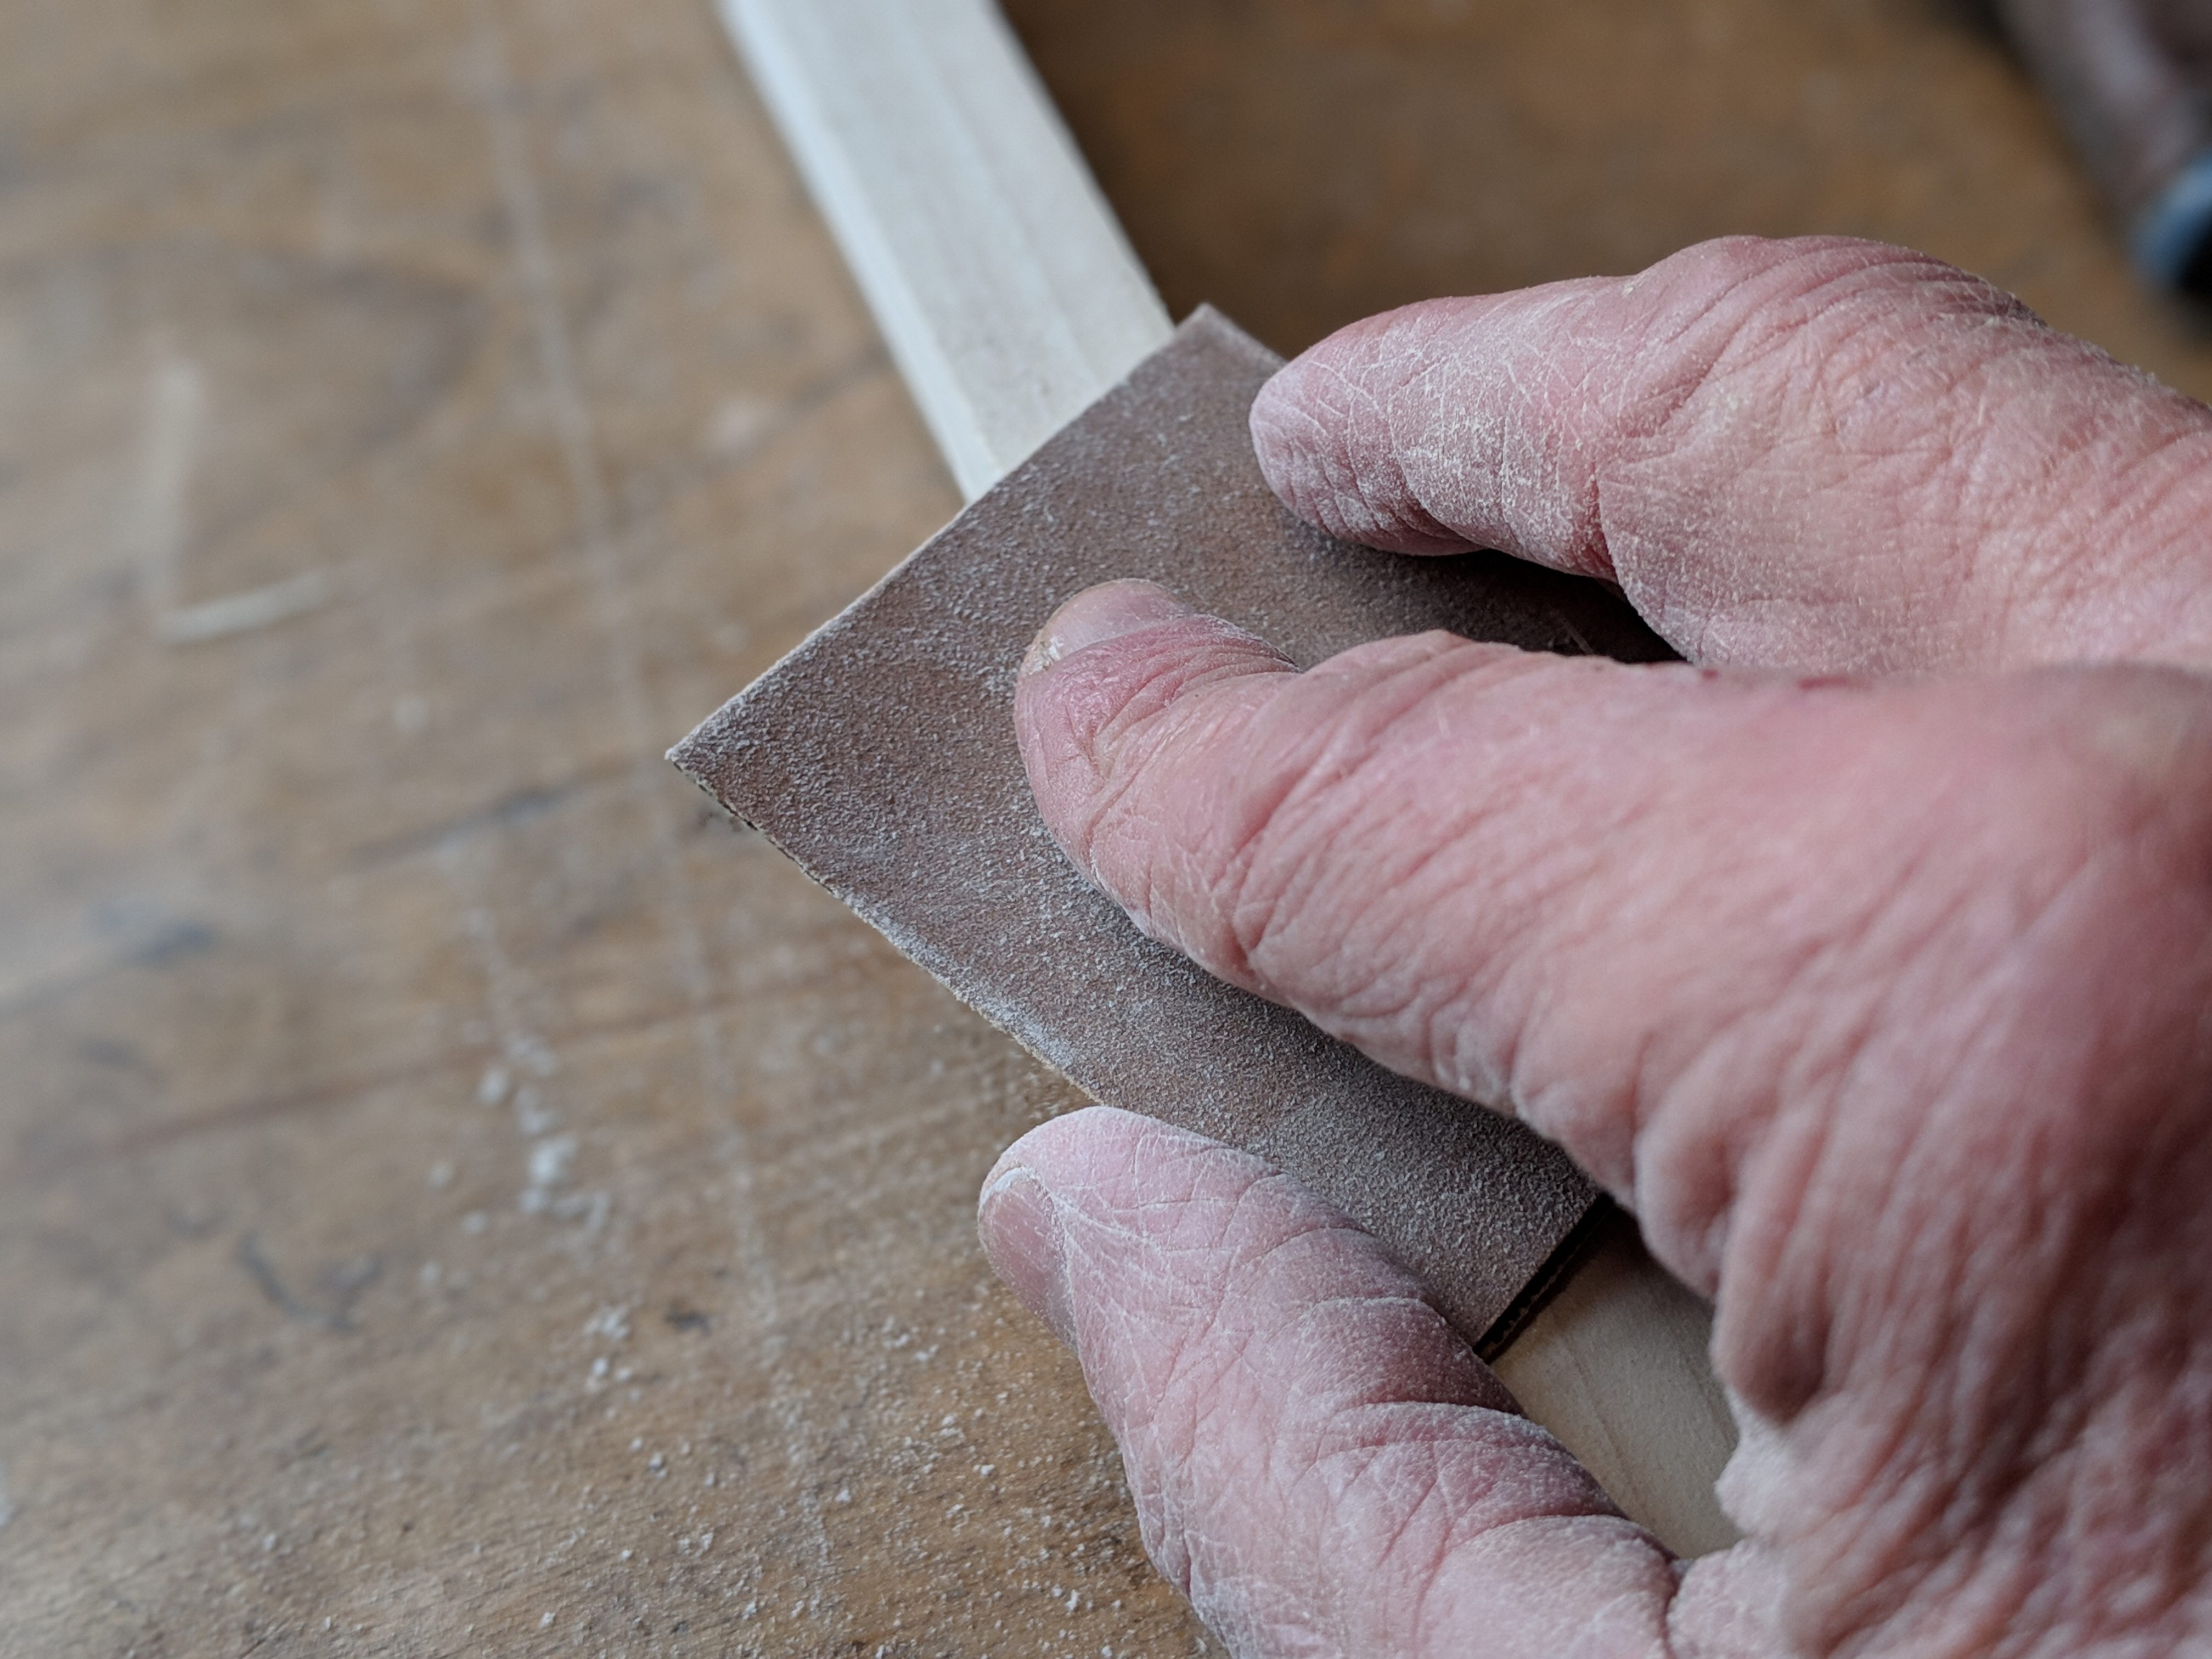
I begin with 1 x 2 boards ripping them in a simple profile ideally suited for glazing and double-matted prints. I use a fine-cutting 80-tooth miter blade to cut the joints, resulting in a nearly perfect fit virtually every time. As you will see in the pictures below, I’ve devised a stop on my miter saw fashioned from a long pipe clamp that hardly gets used for its intended purpose. I decided to use that rather than purchasing a chop saw table with stops partly because for the expense and partly for space considerations. I’ve also developed a homemade clamping system fashioned from ratcheting hold-down straps, that works much better than commercially available clamping systems I’ve tried.